Let's Cheer You Up! - FREE Card Tutorial
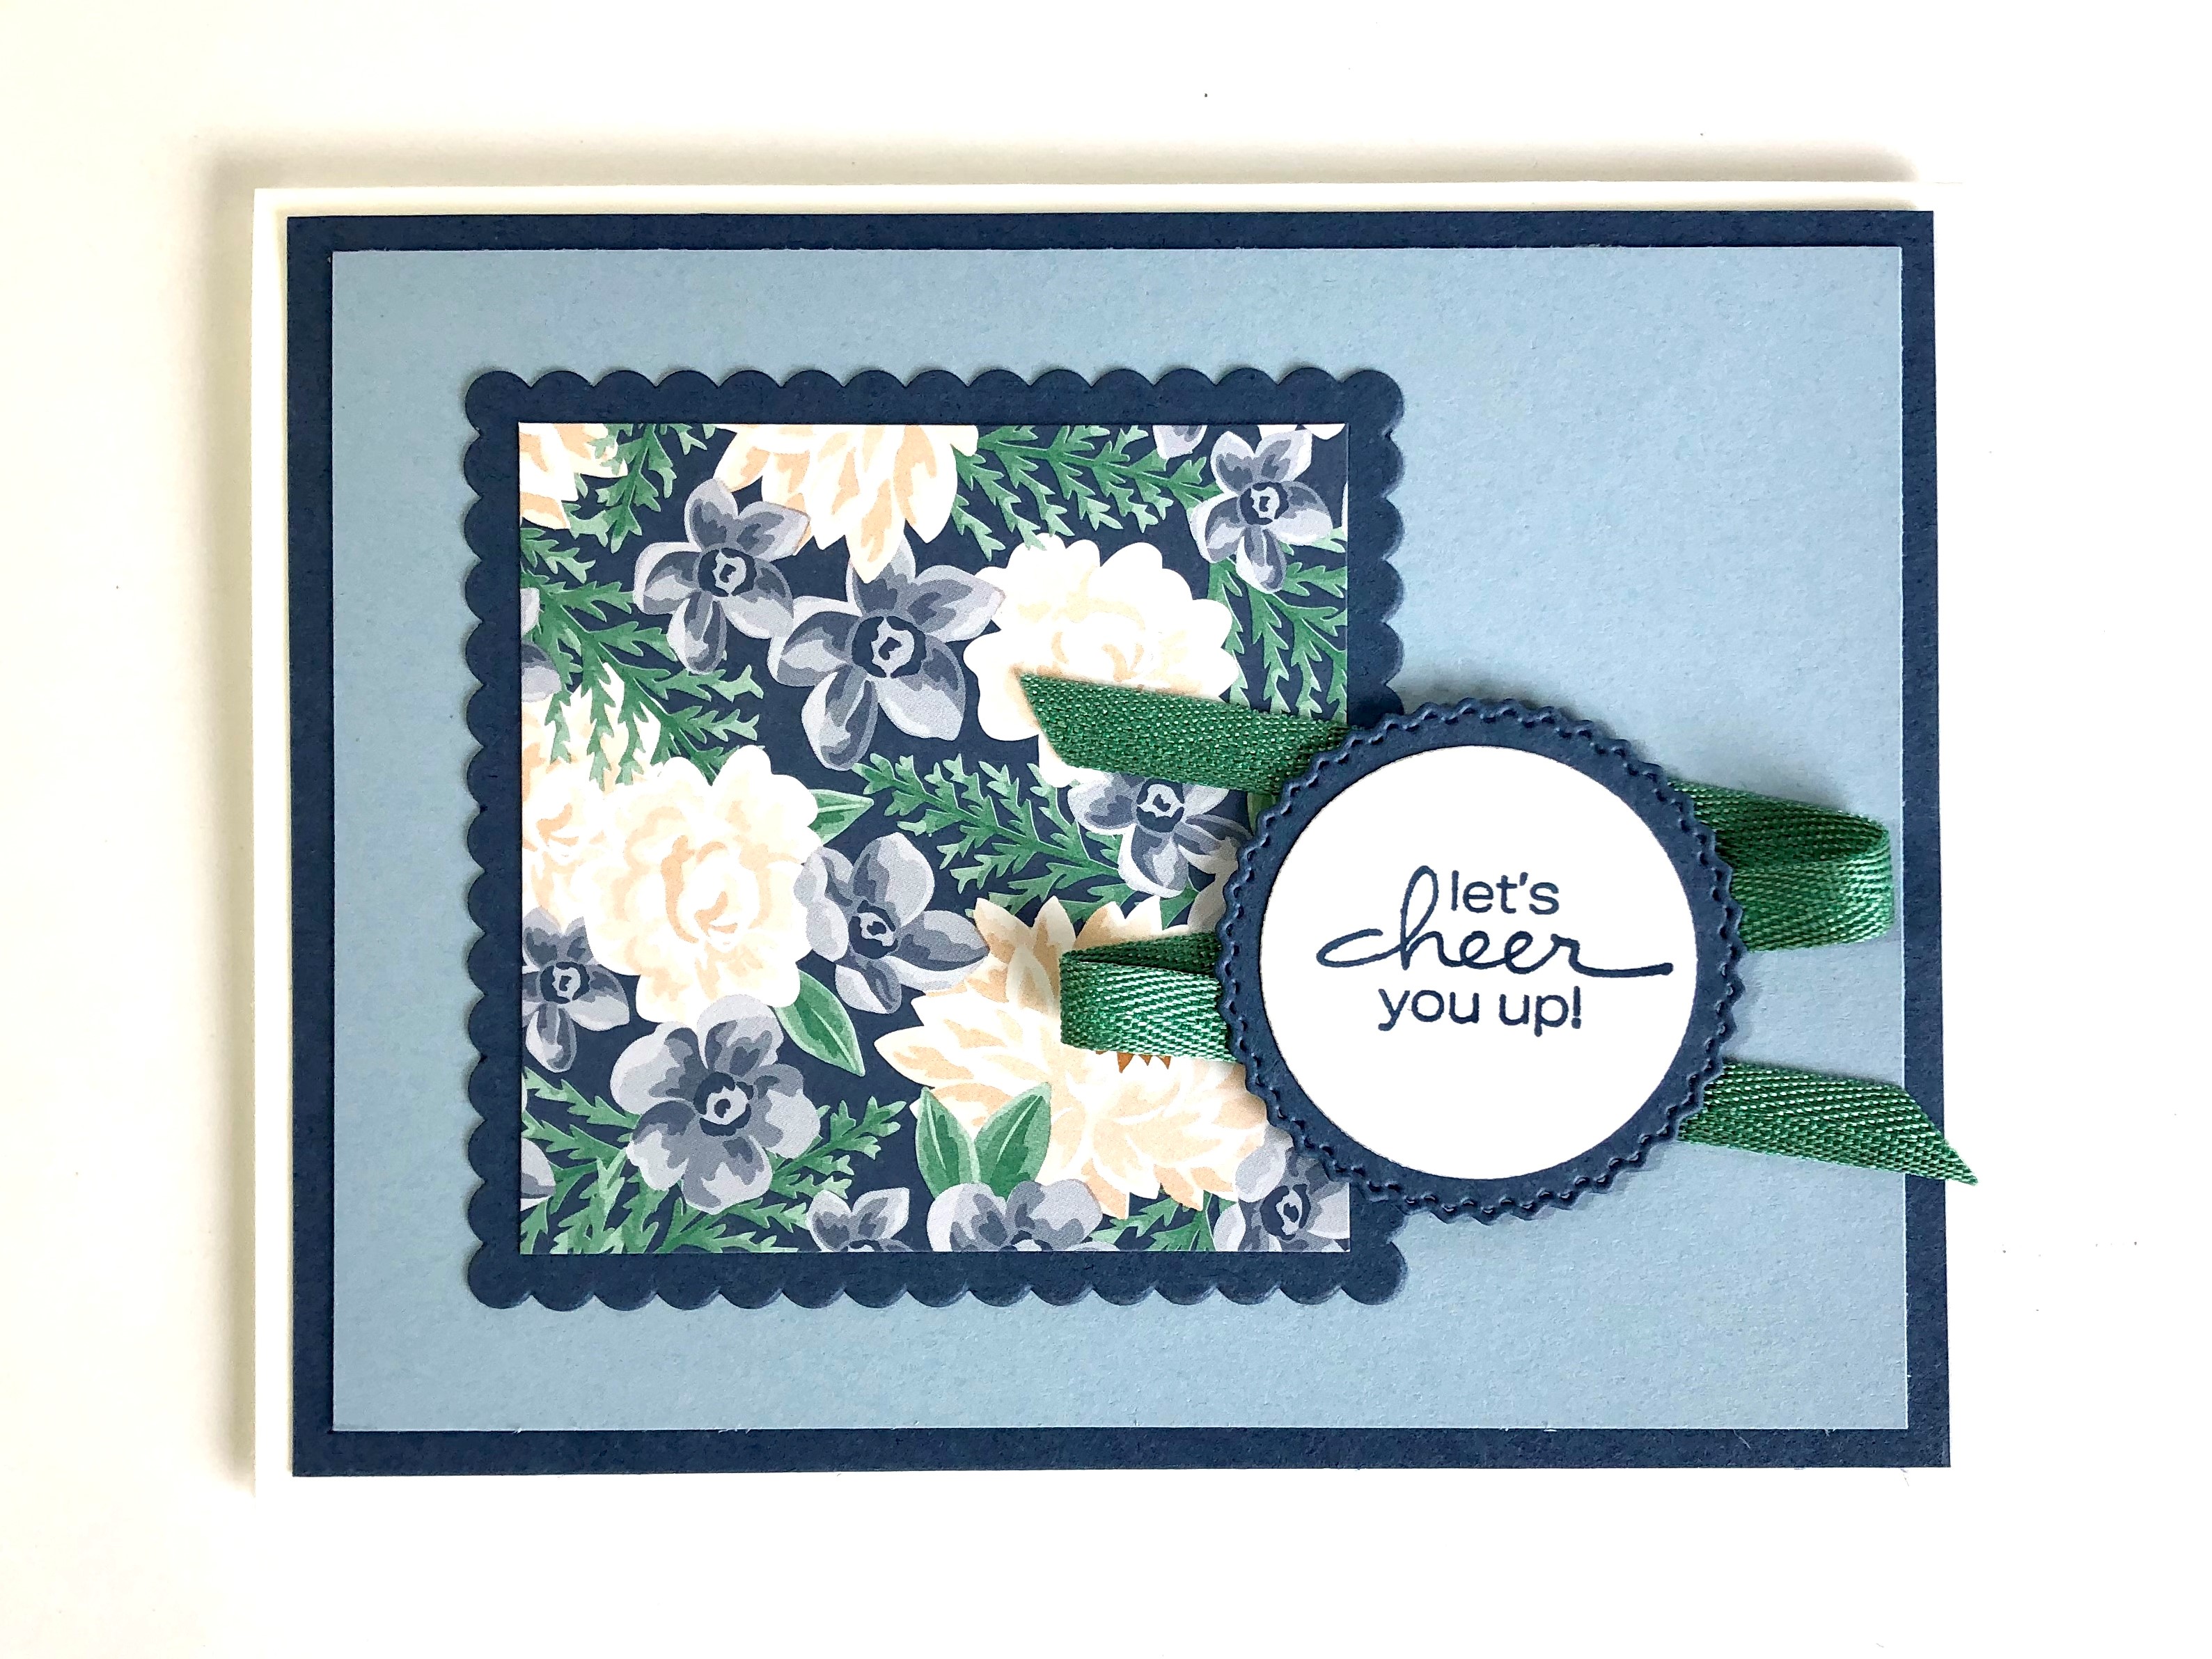
LET'S CHEER YOU UP! - MISTY MOONLIGHT - CARD
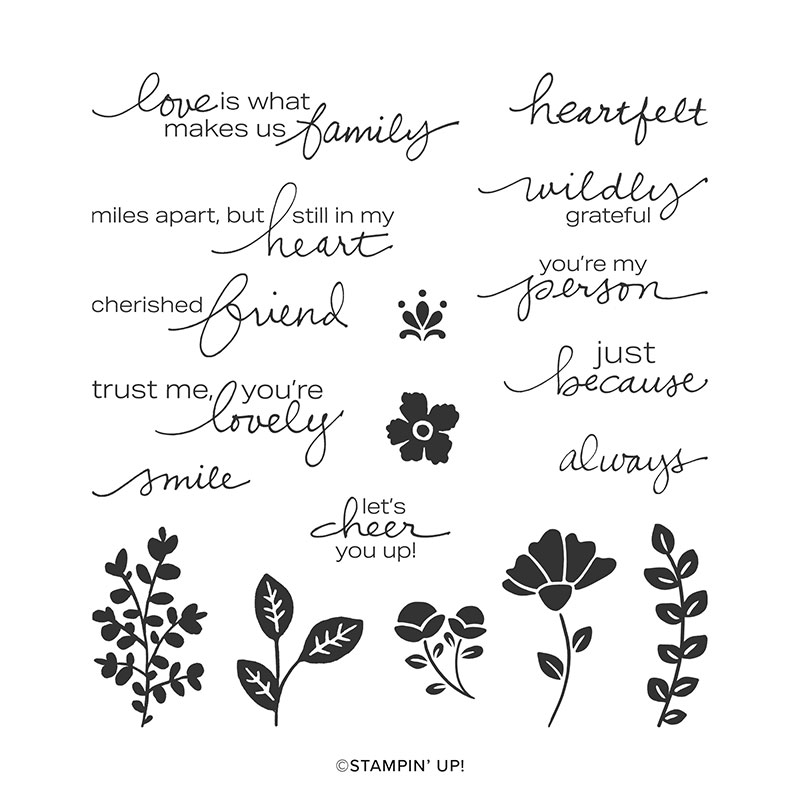
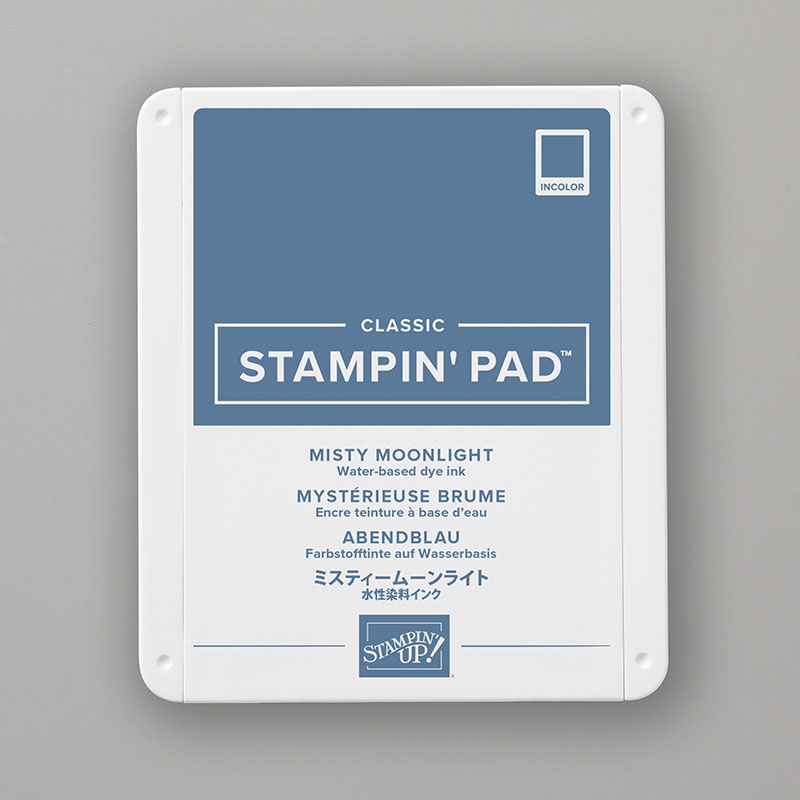
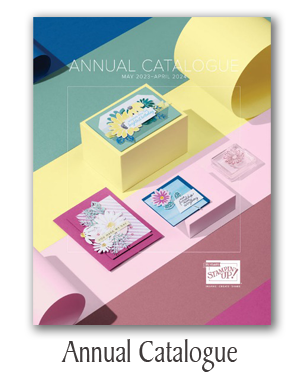
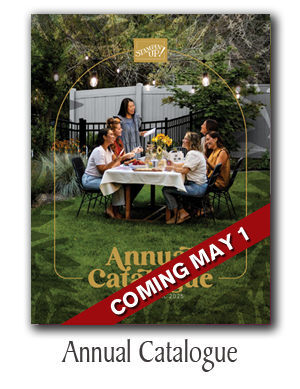
Have you noticed the NEW 2020-2022 In-Colors? If not, check them out online or in the Annual Catalogue starting at page 140, where you will see the inks and paper to go with the many stamps available to us. When it comes to stampin, just remember the basics: stamps. ink and paper. For this card I am using the Lovely You Cling stamp set (pg 22), and I am featuring Misty Moonlight as the first of our new in-colors. I CASEd this card from my friend Selene Kempton, you will be surprised at how easy it is to make it. Enjoy my tutorial.
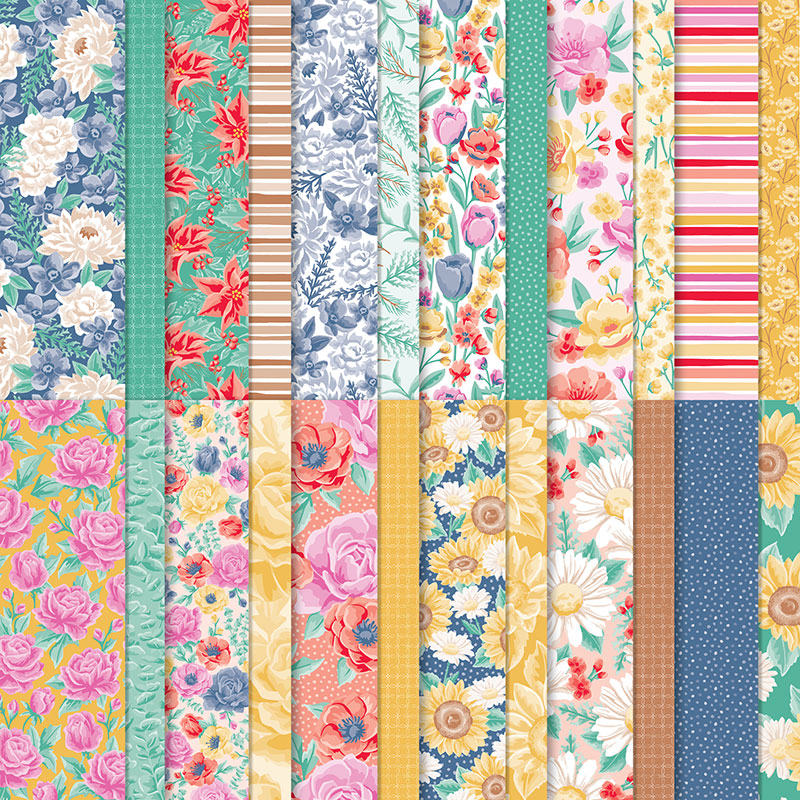
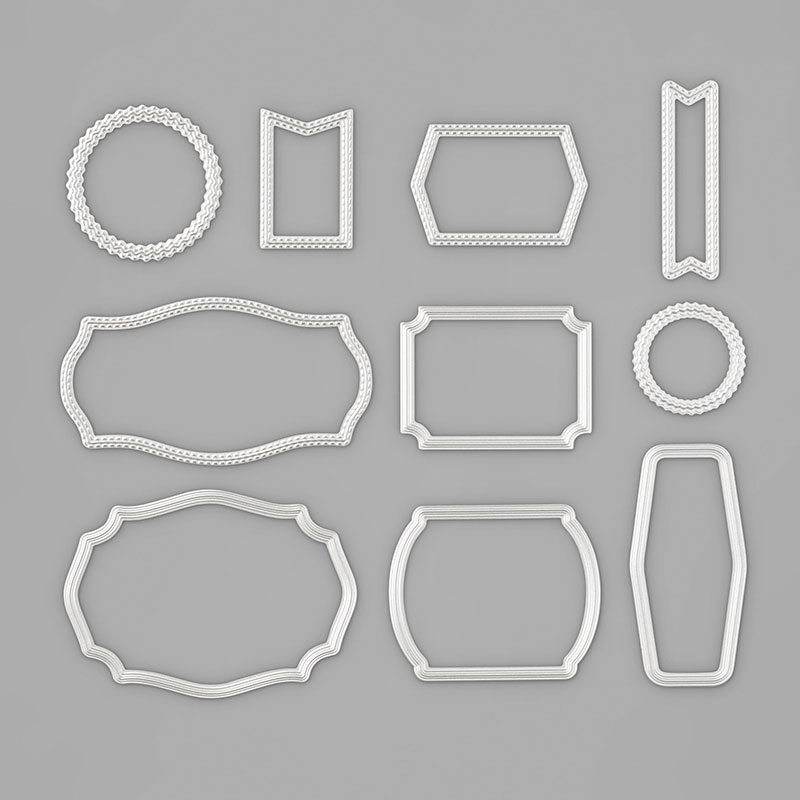
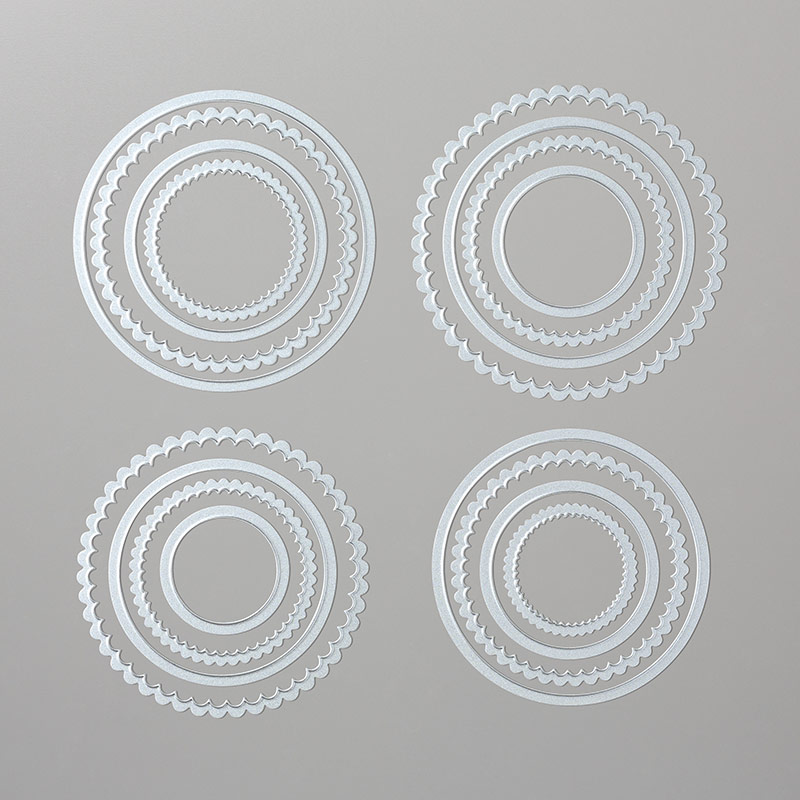
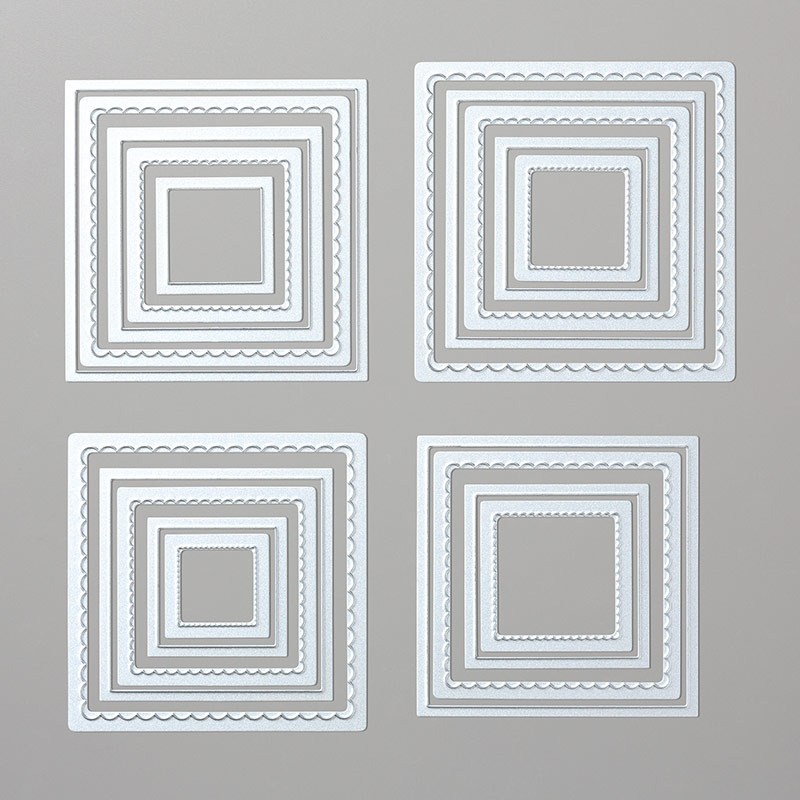
Along with Lovely You stamp set I am using Tasteful Labels dies, Layering Squares dies and Layering Circles dies. I added Just Jade ribbon to add a bit more colour, the DSP is Flowers For Every Season. Enjoy!
 1. Product I used
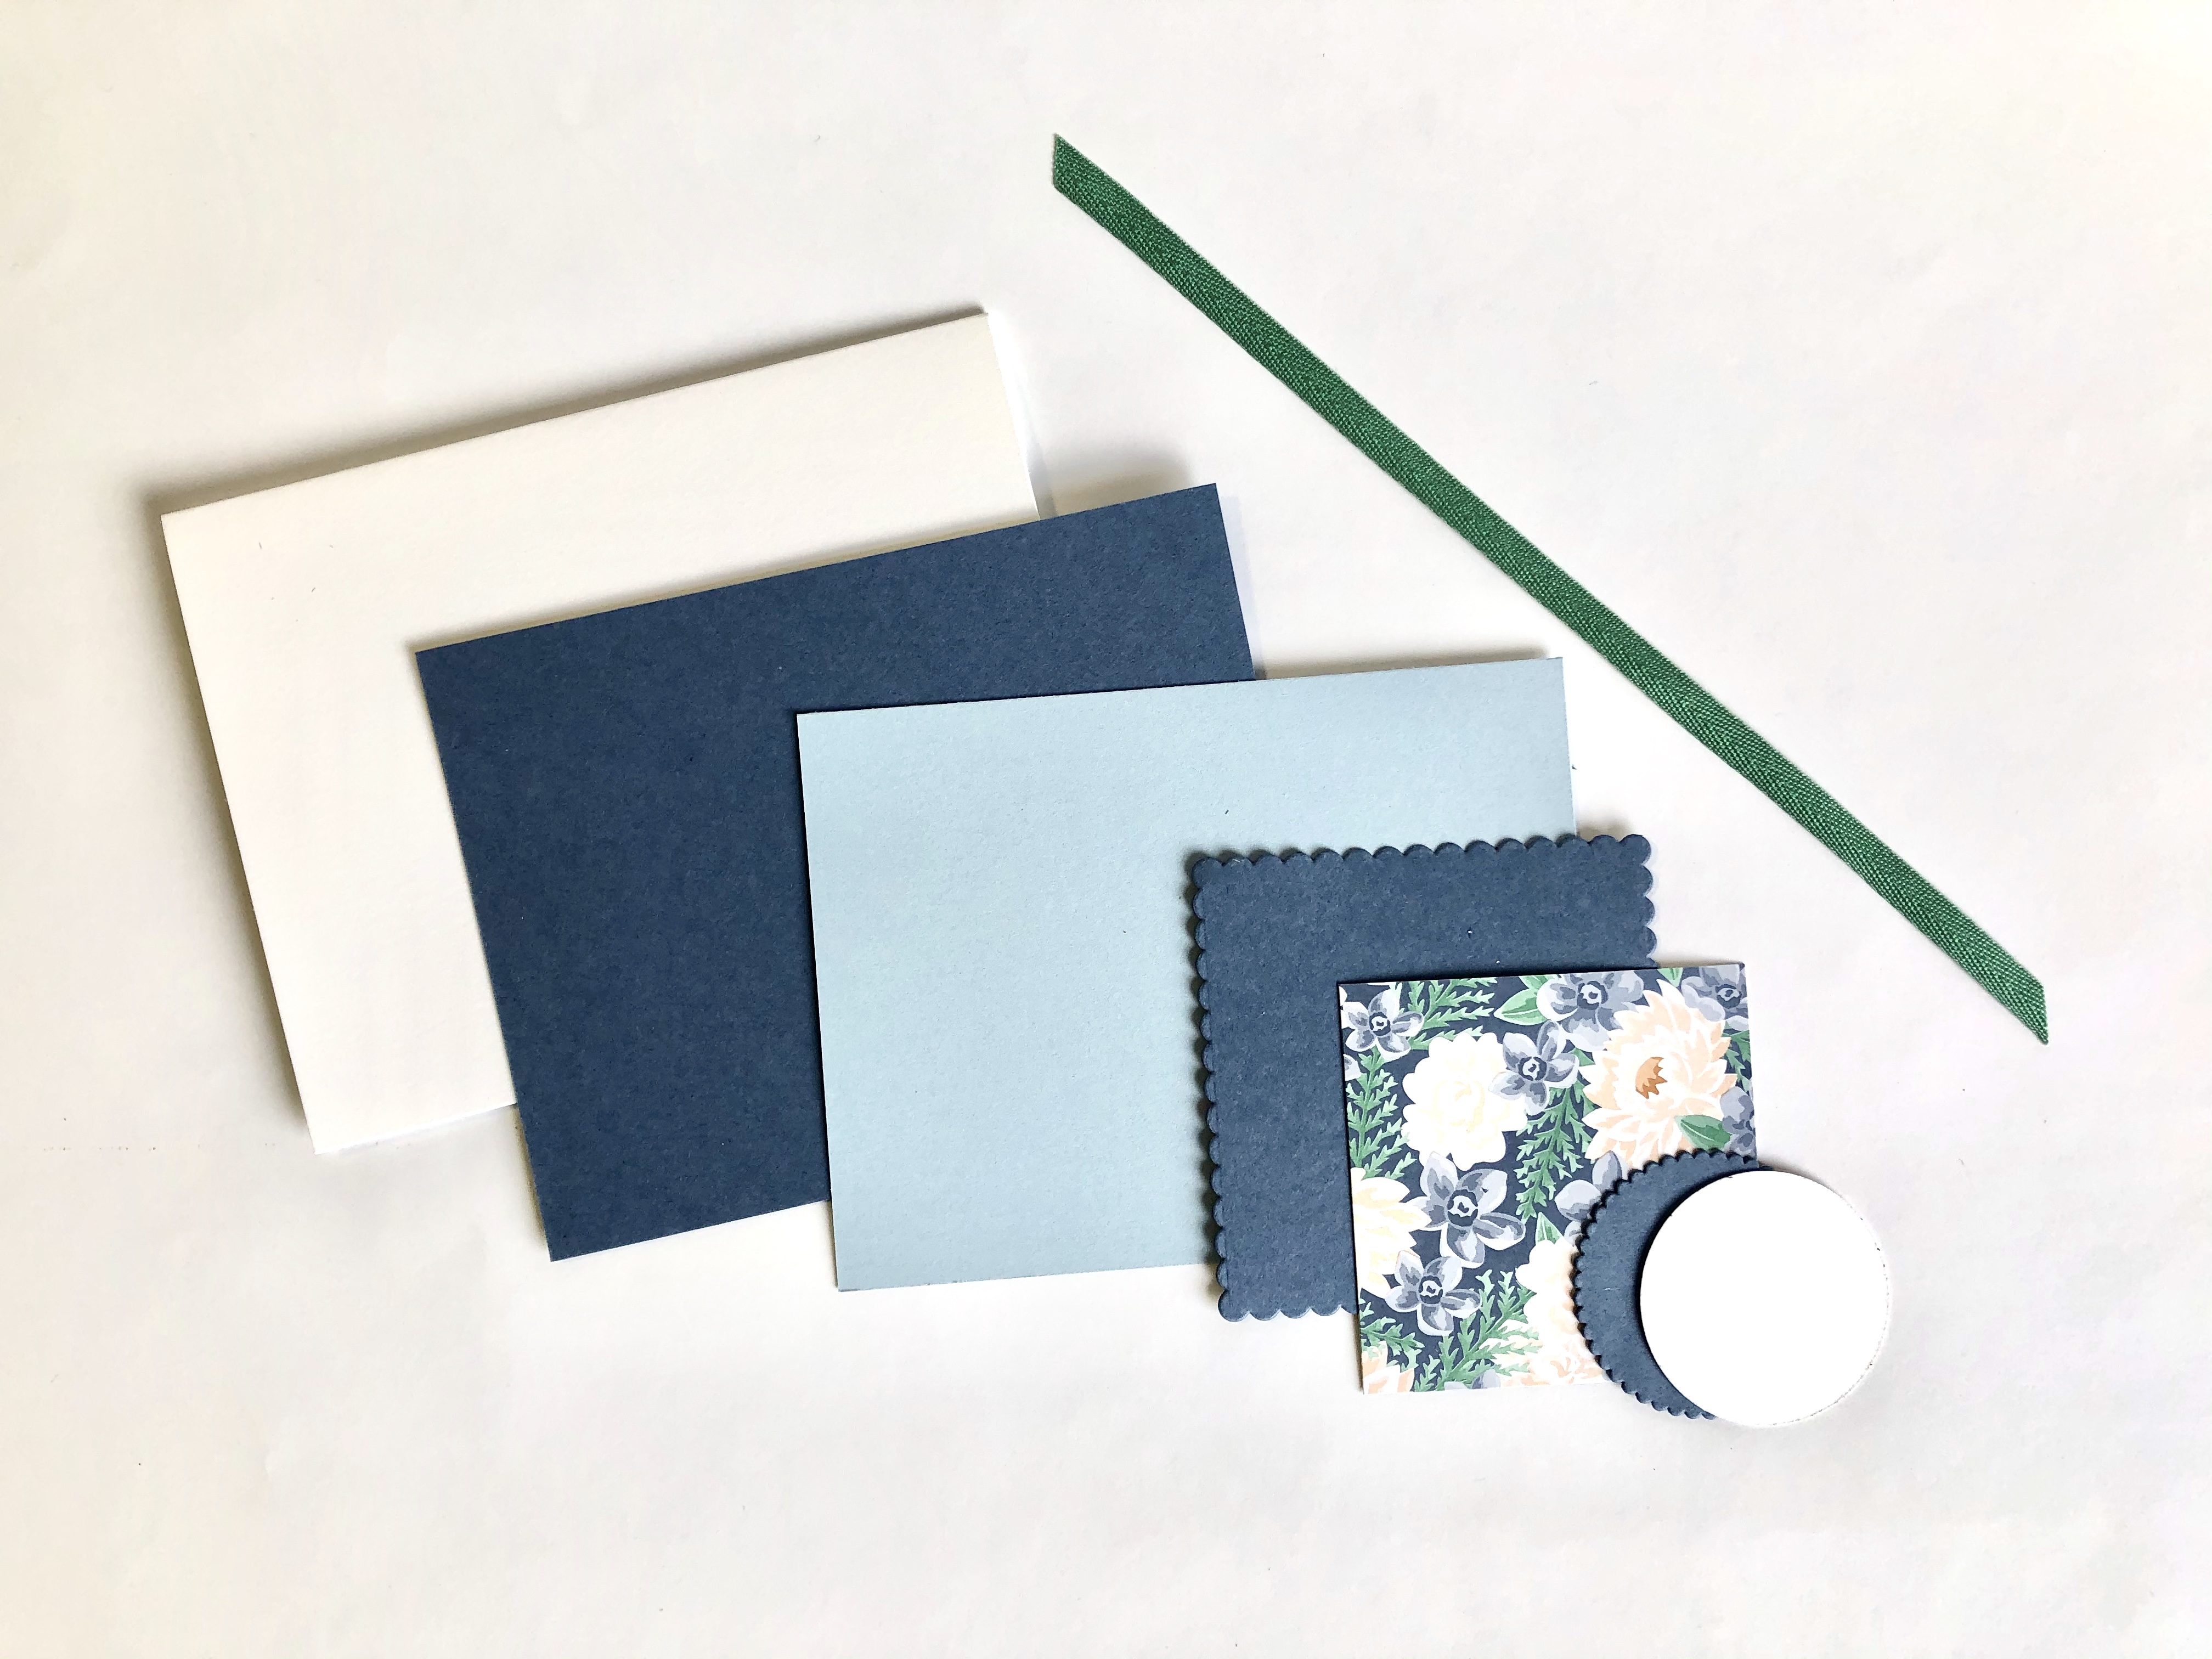
Card Base is Thick Whisper White - 8 1/2"x 5 1/2", Layer 1 is Misty Moonlight CS - 5 1/4"x 4", and same CS for the scalloped tag (3 1/4" square) and for the sentiment tag (2" square). Layer 2 is Seaside Spray - 5"x 3 3/4', DSP is a 2 5/8" square and I used a scarp piece of Whisper White to stamp and die cut the sentiment tag. 8 1/4" of the Just Jade ribbon is the final item on my list.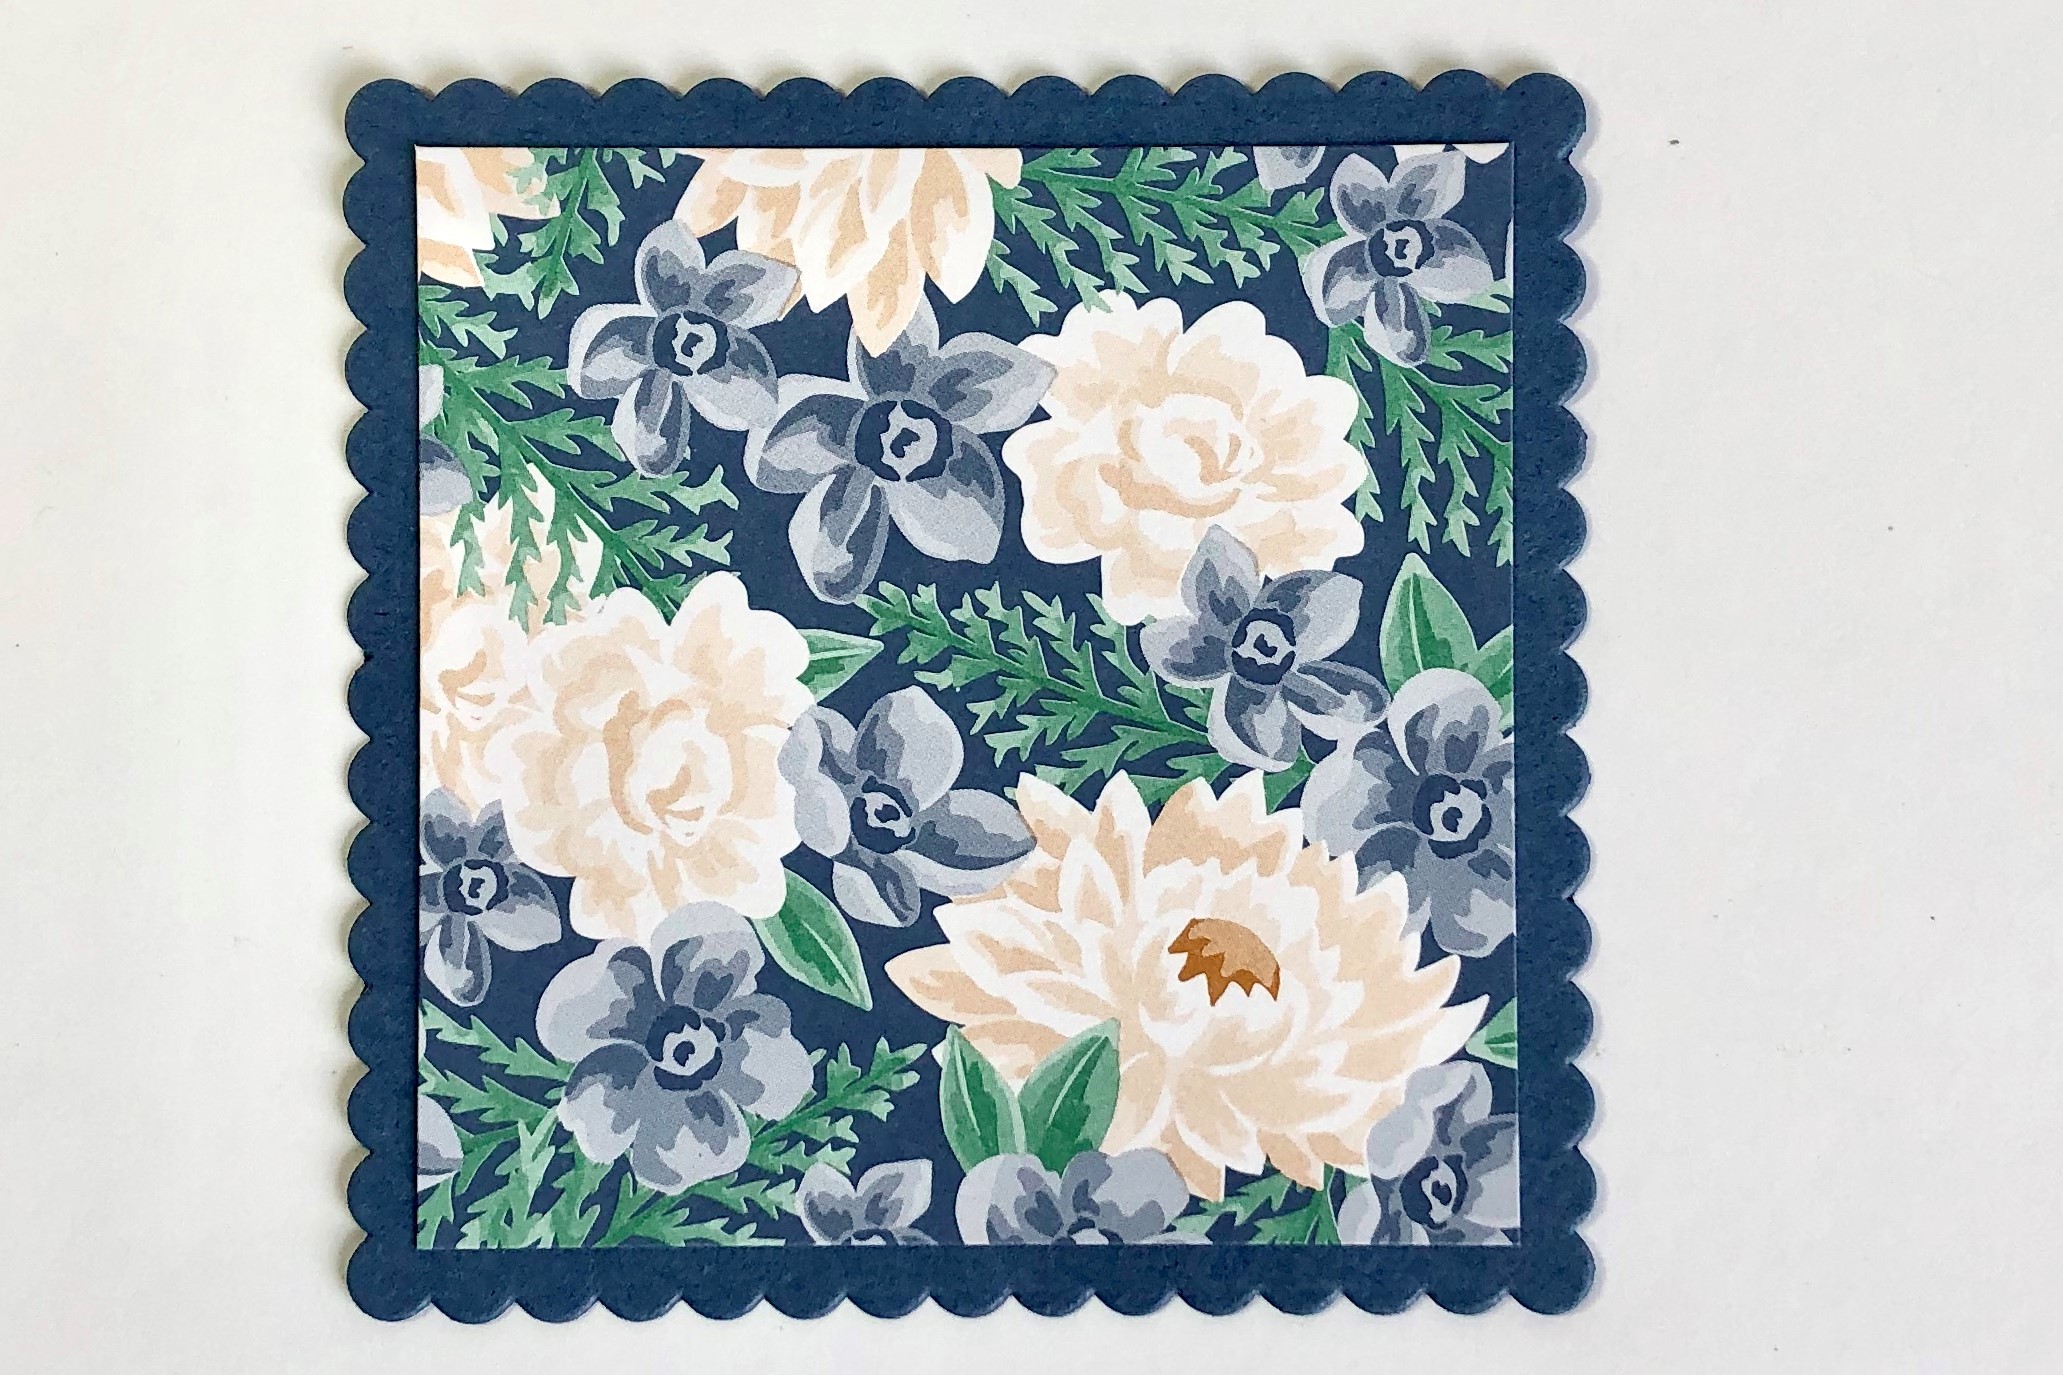 2. Building Focal Piece
I die cut the scalloped tag using the largest of the Layering Squares dies. Adhere DSP (2 5/8" square) to the scalloped tag 3. Layers 1 and 2
Adhere Seaside Spray Layer 2 to Misty Moonlight Layer 1.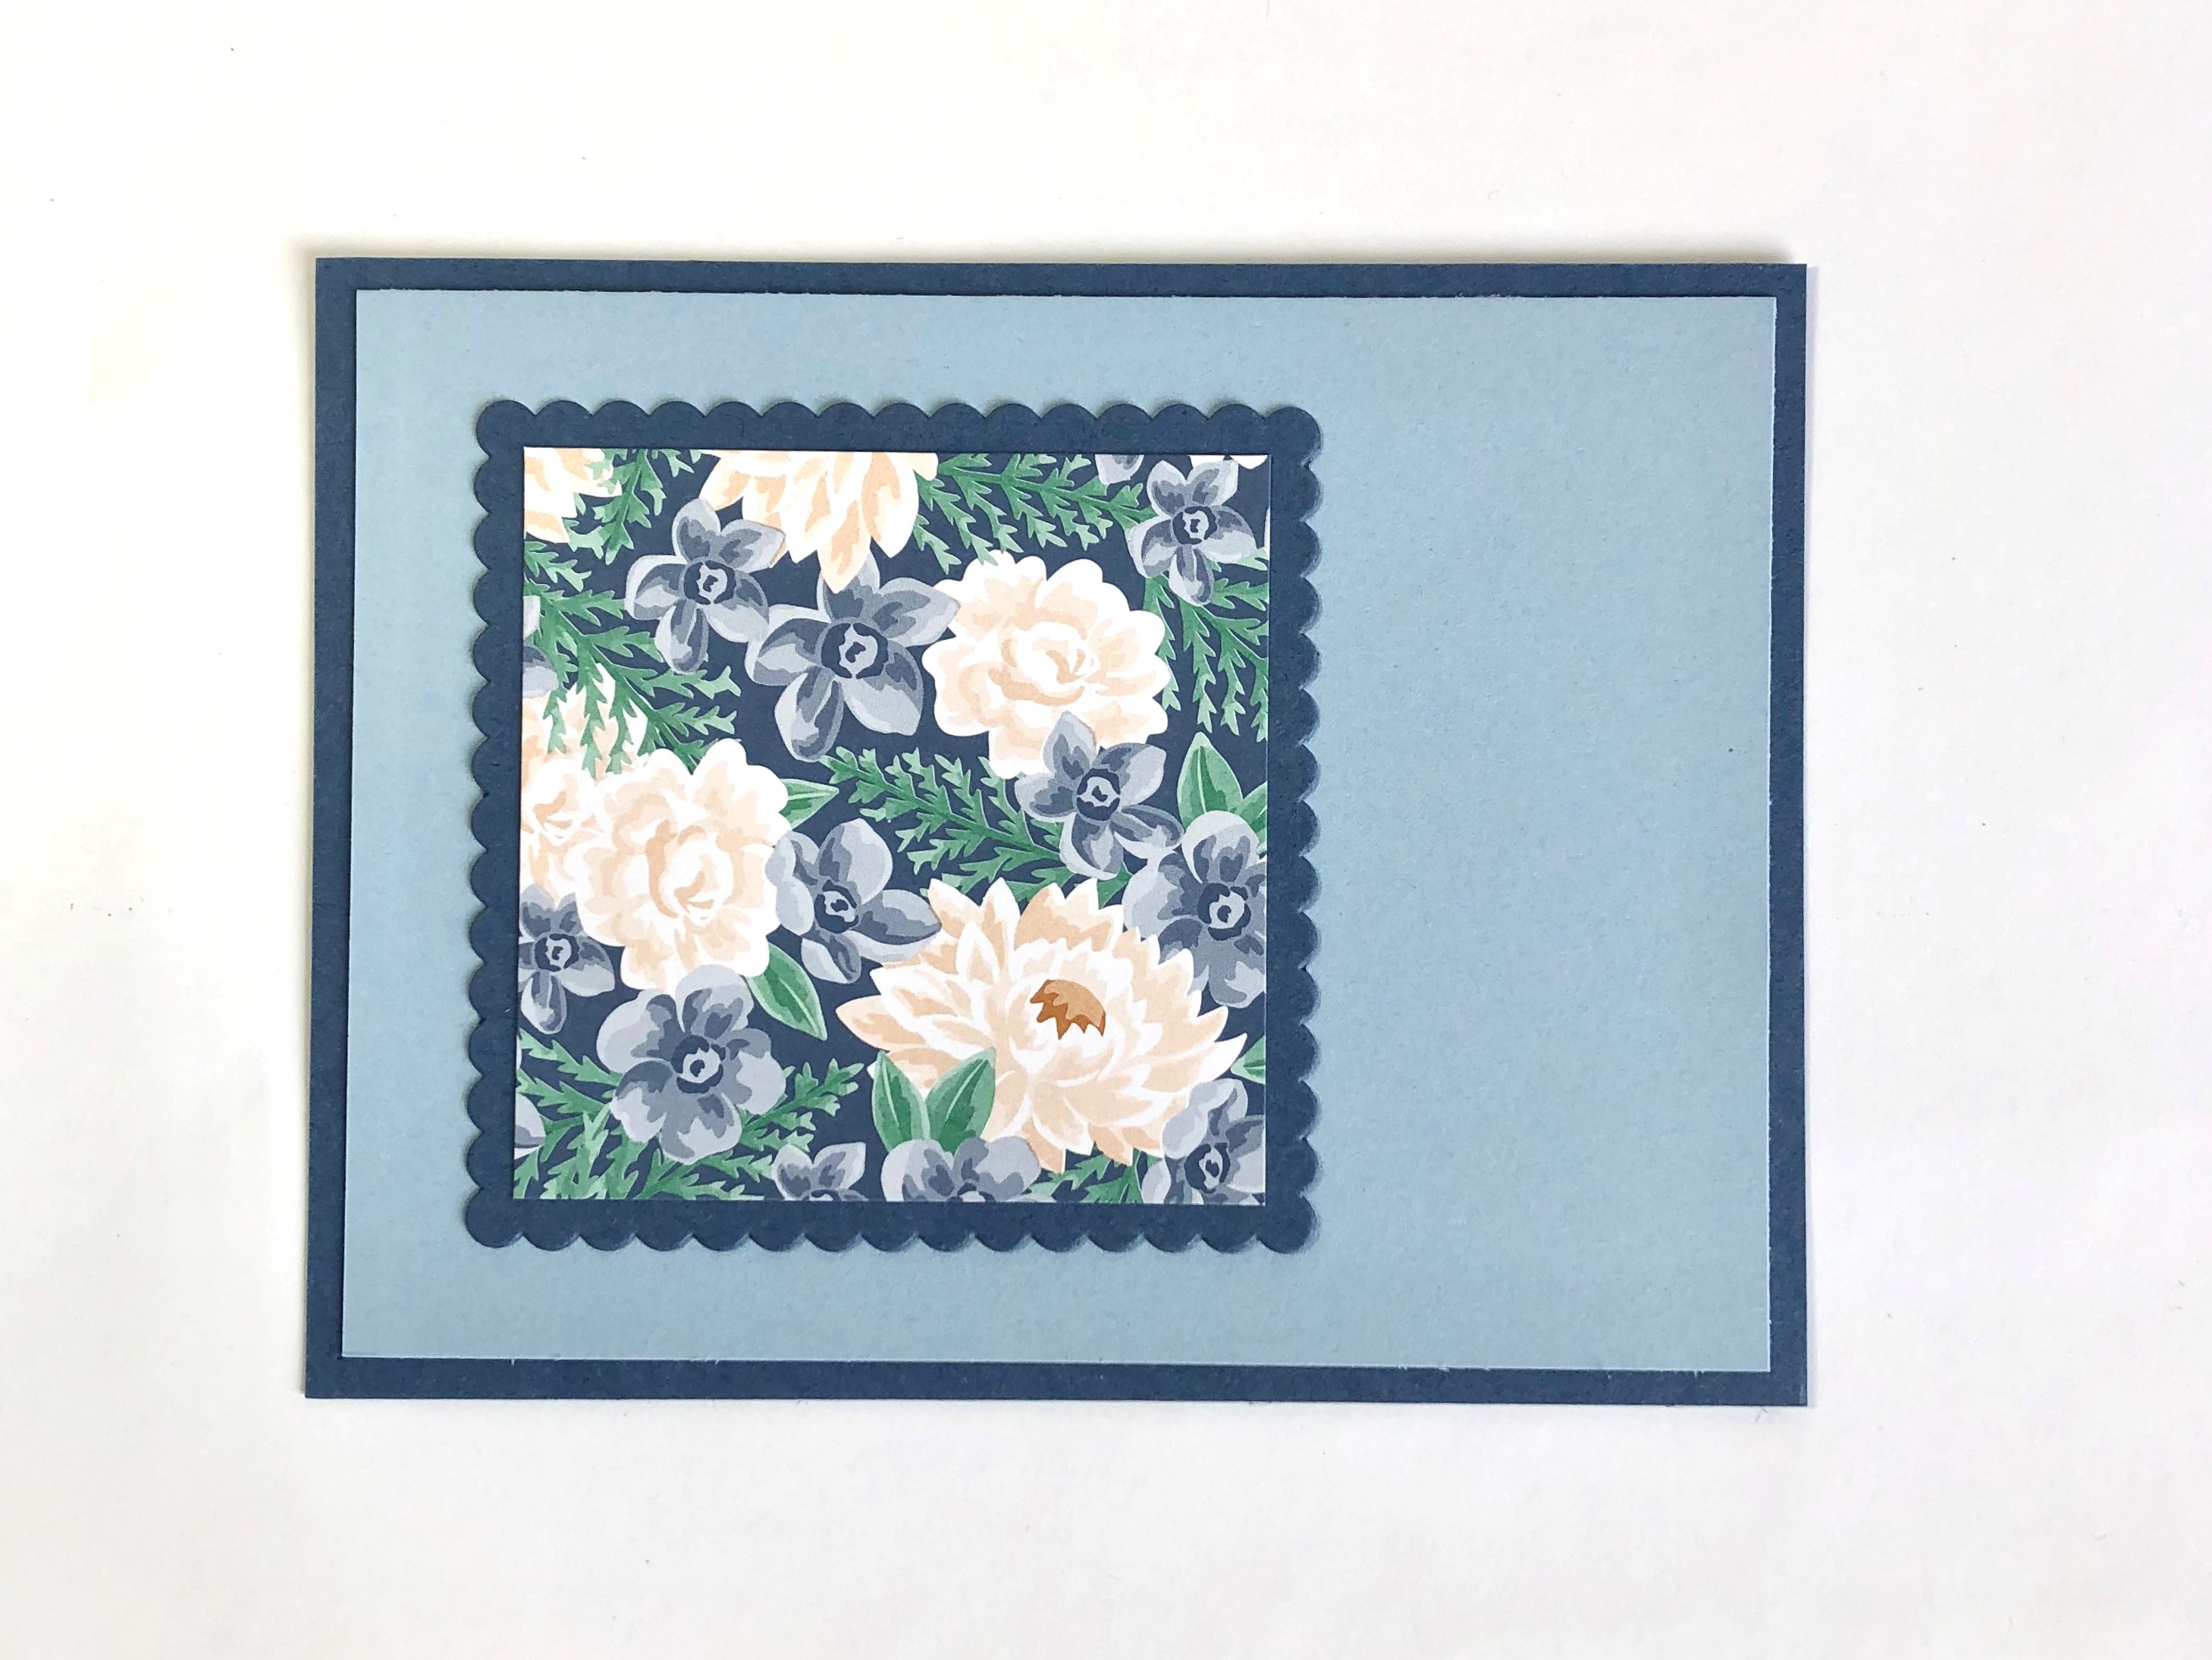 4. Adding Focal Piece
Attach the floral Focal Piece to the layers. 5. All On-Board to Card Base
Next step - adhere the layers to the card base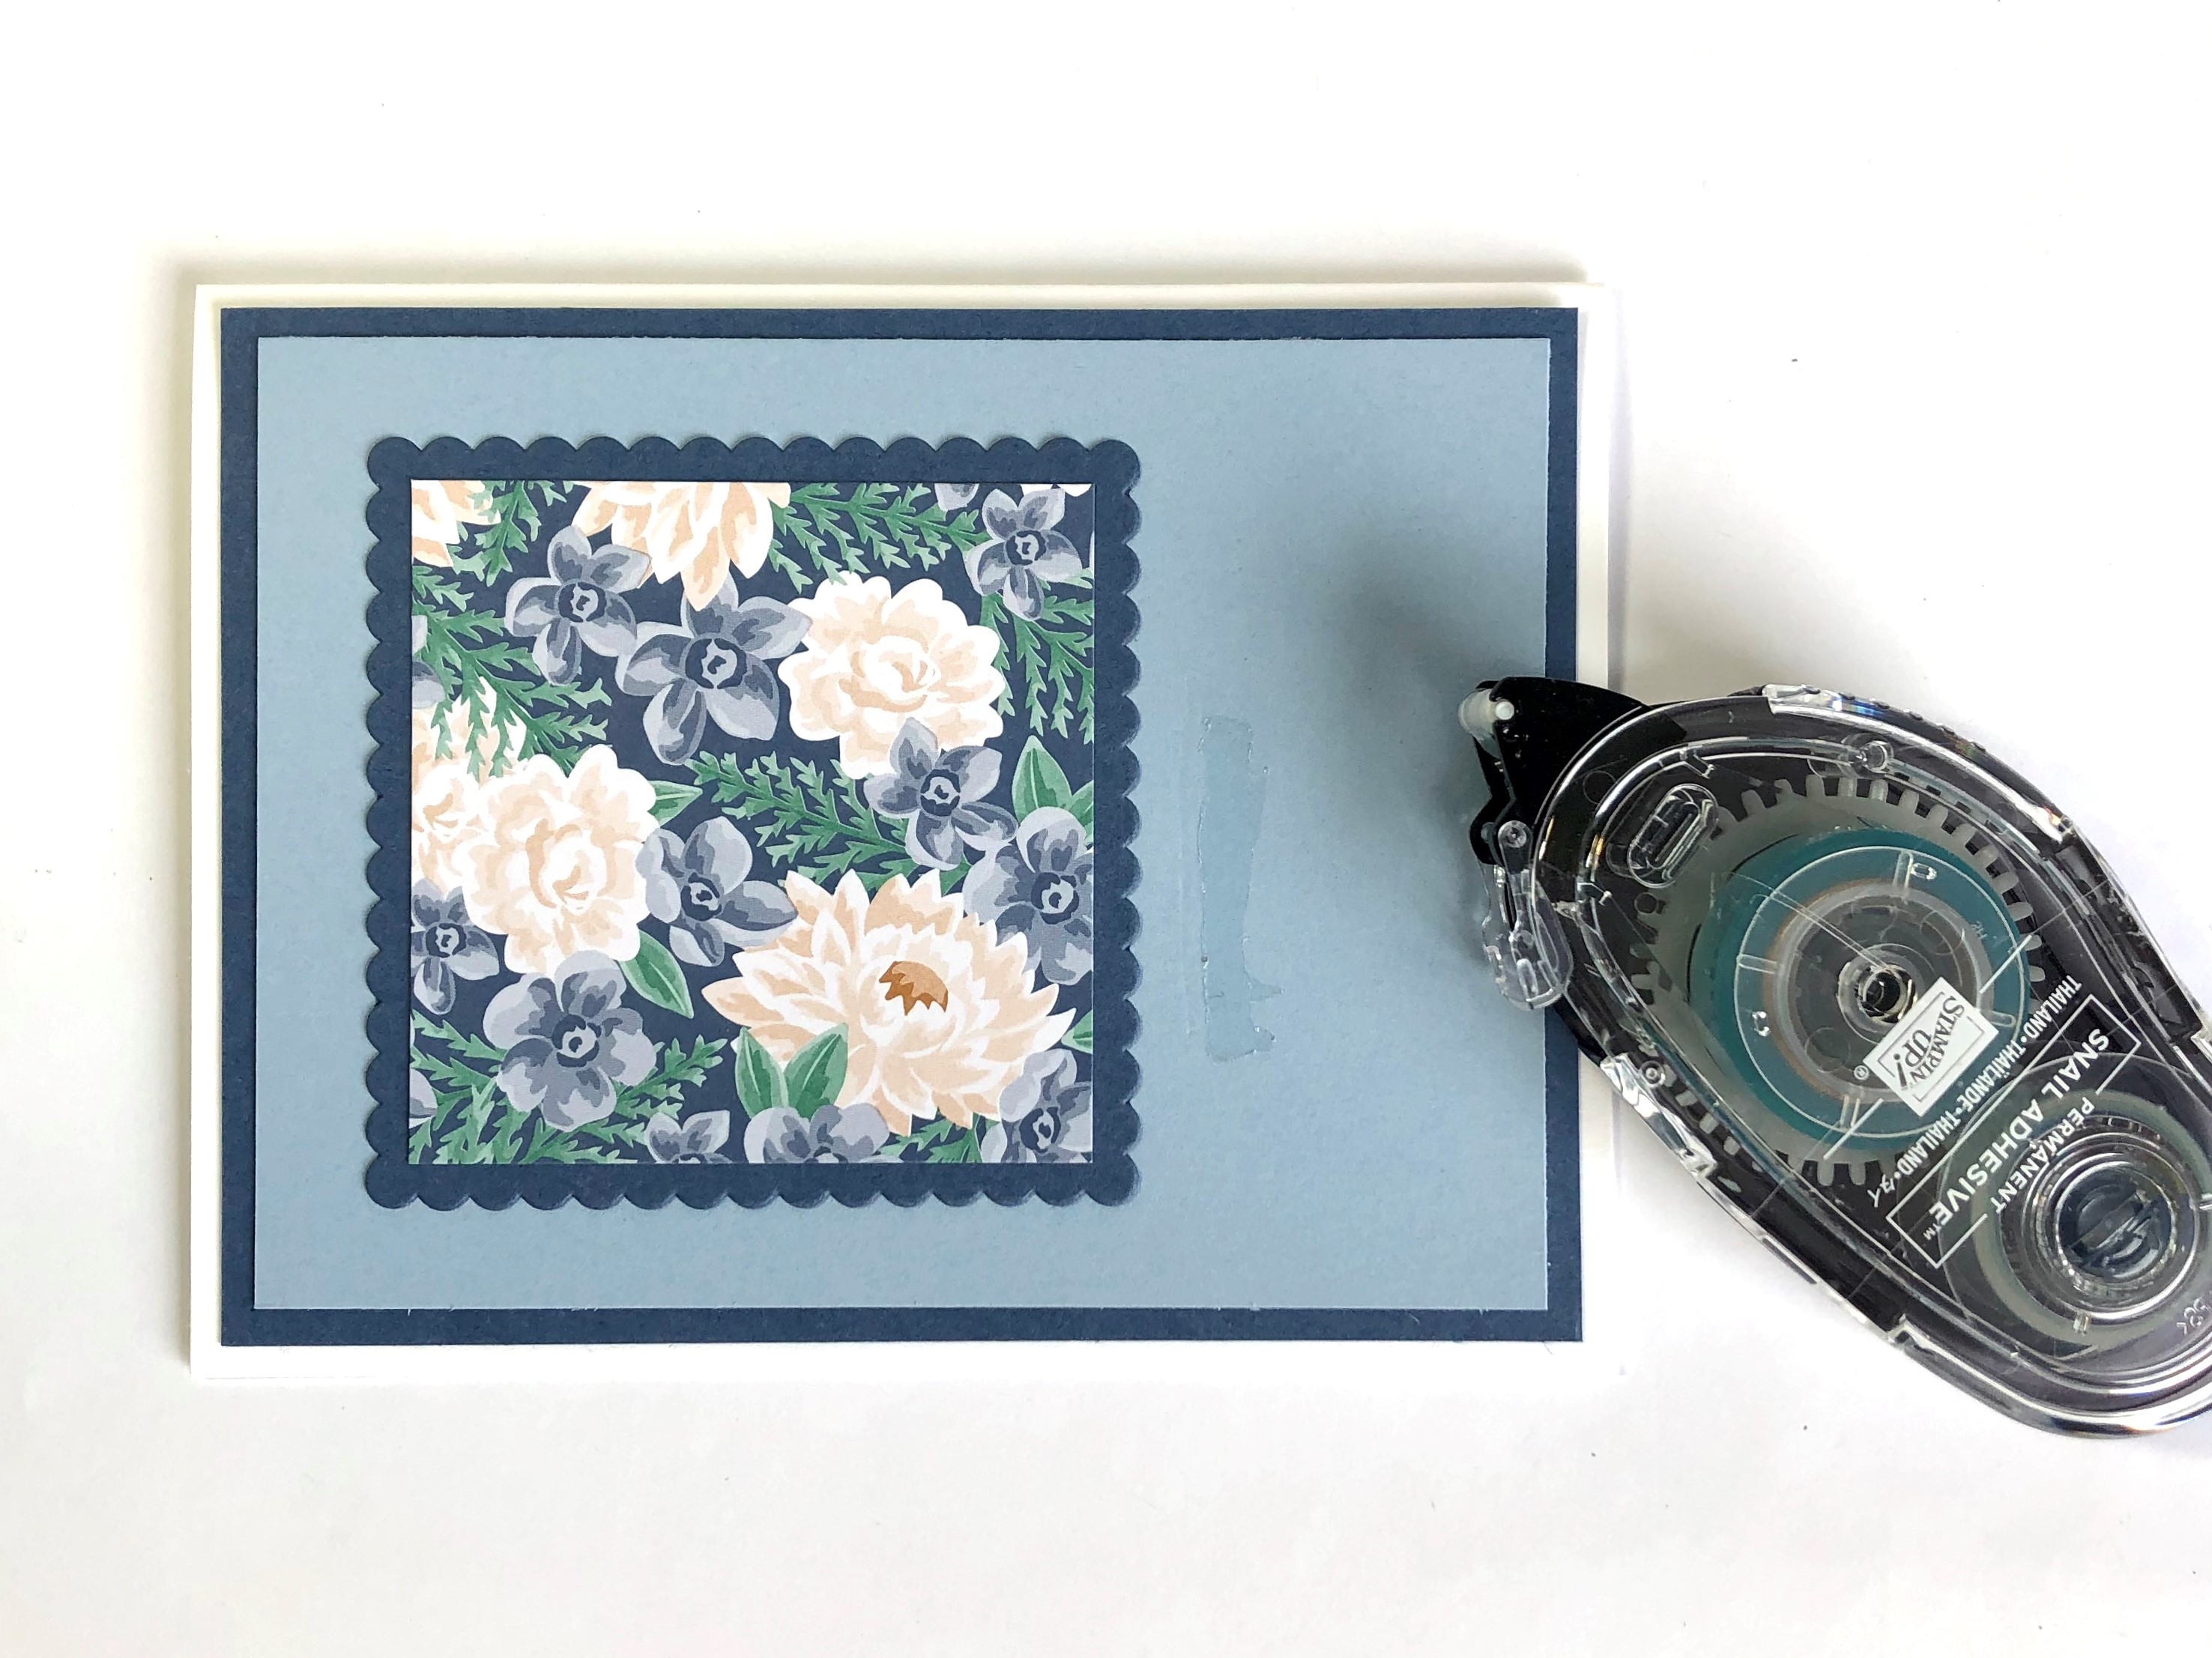 6. A Little Help
Adding a short strip of adhesive will help you with placement of the ribbon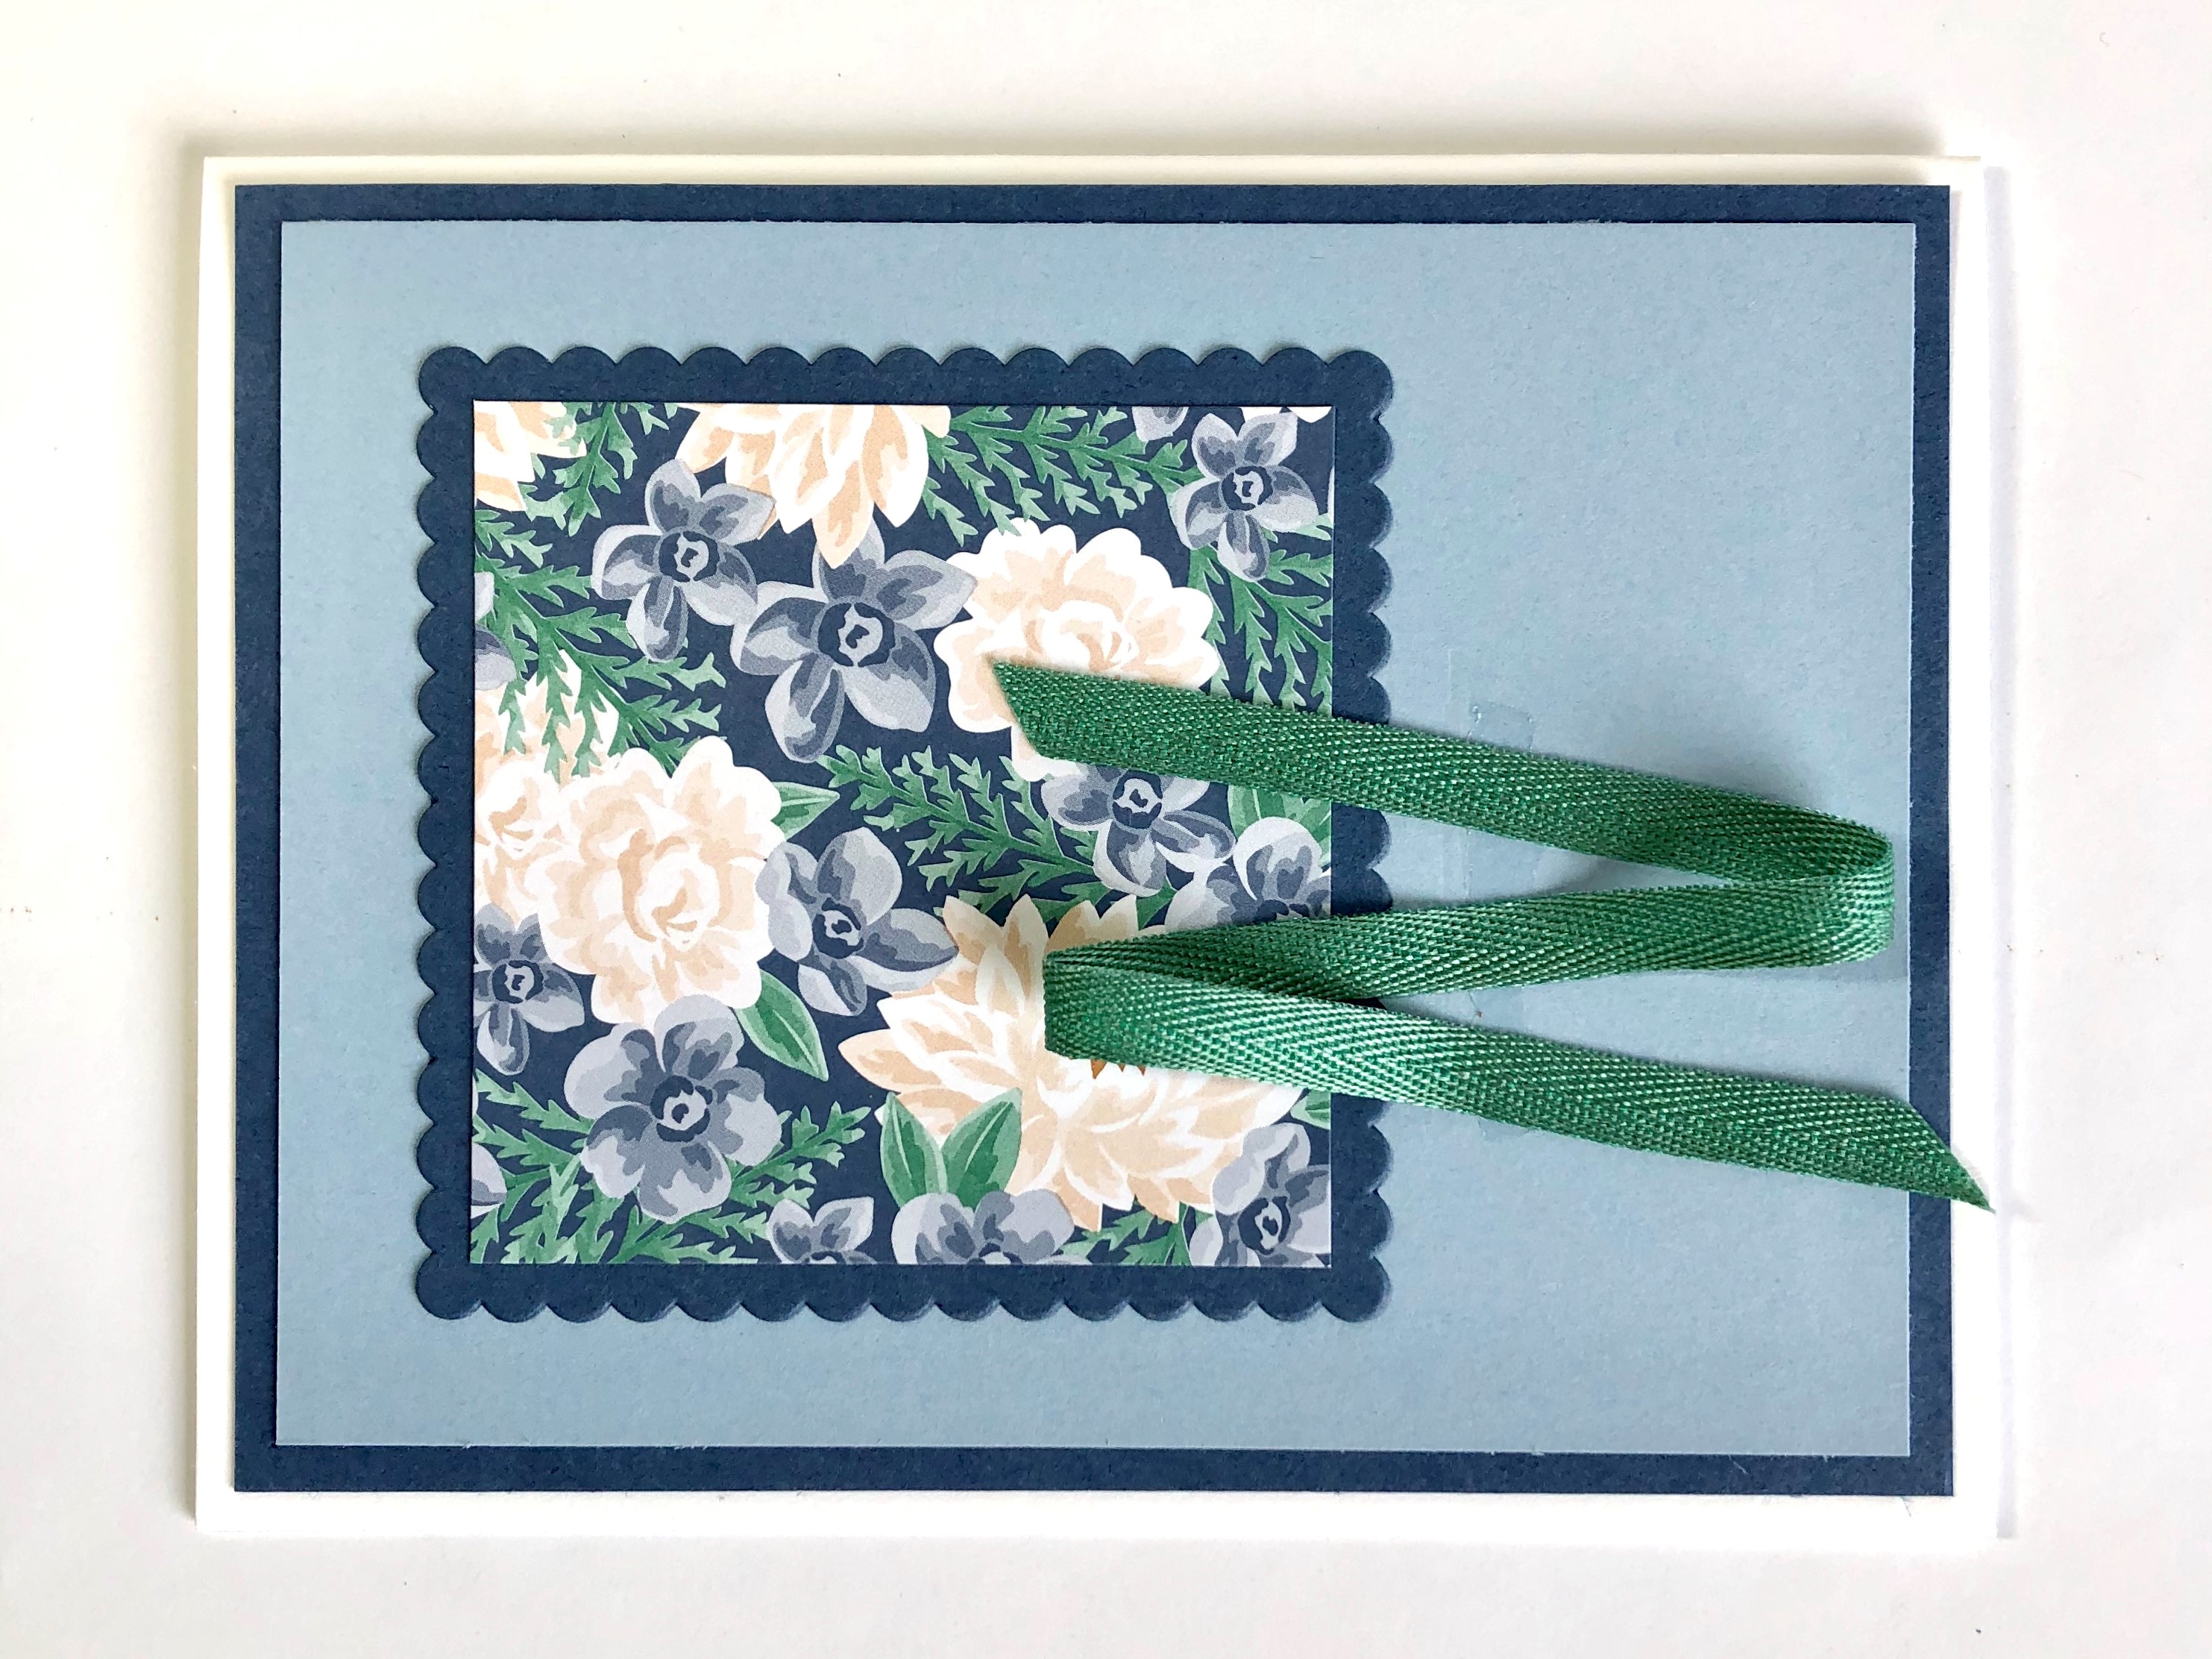 7. Ribbon Embellishment
Layer the ribbon over the strip of adhesive, hold off trimming it till you have the tag attached.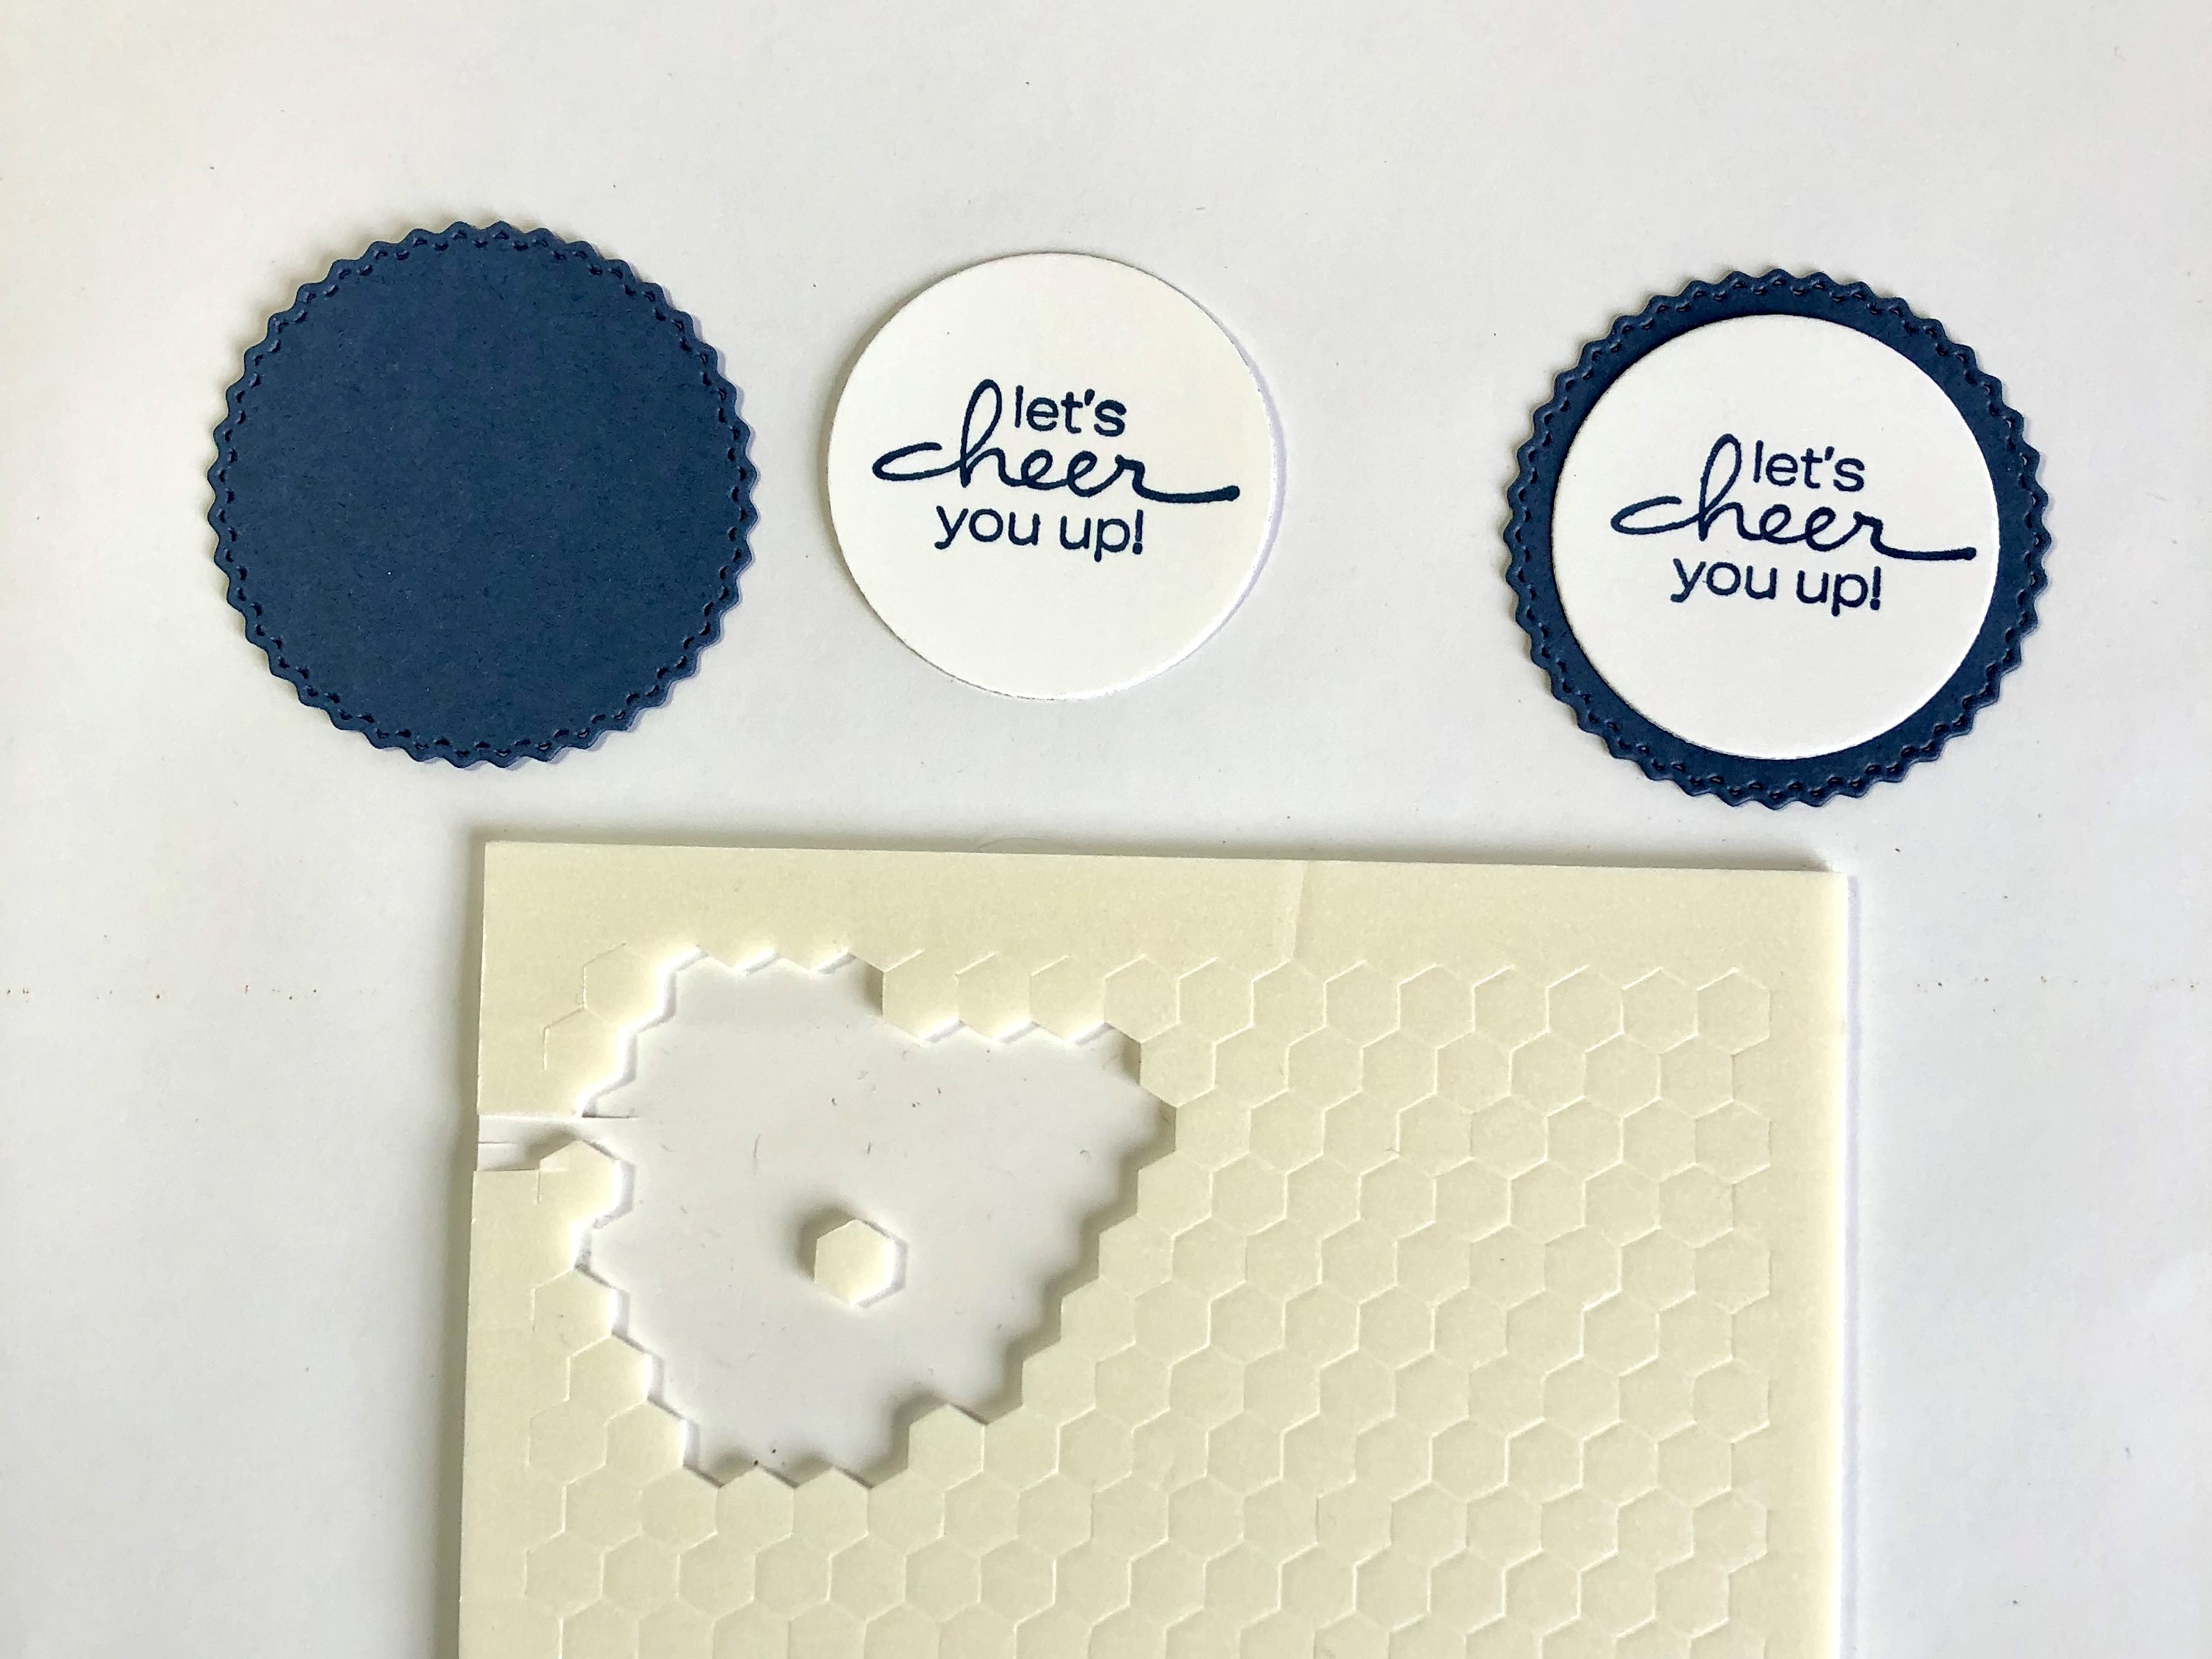 8. Sentiment Tag
The Misty Moonlight tag was die cut using the larger of the two circles of Tasteful Labels dies. I stamped the sentiment in Misty Moonlight ink and die cut it using the 2nd smallest (1 5/8") circle die from Layering Circles dies.Adhere the two to each other with regular adhesive.
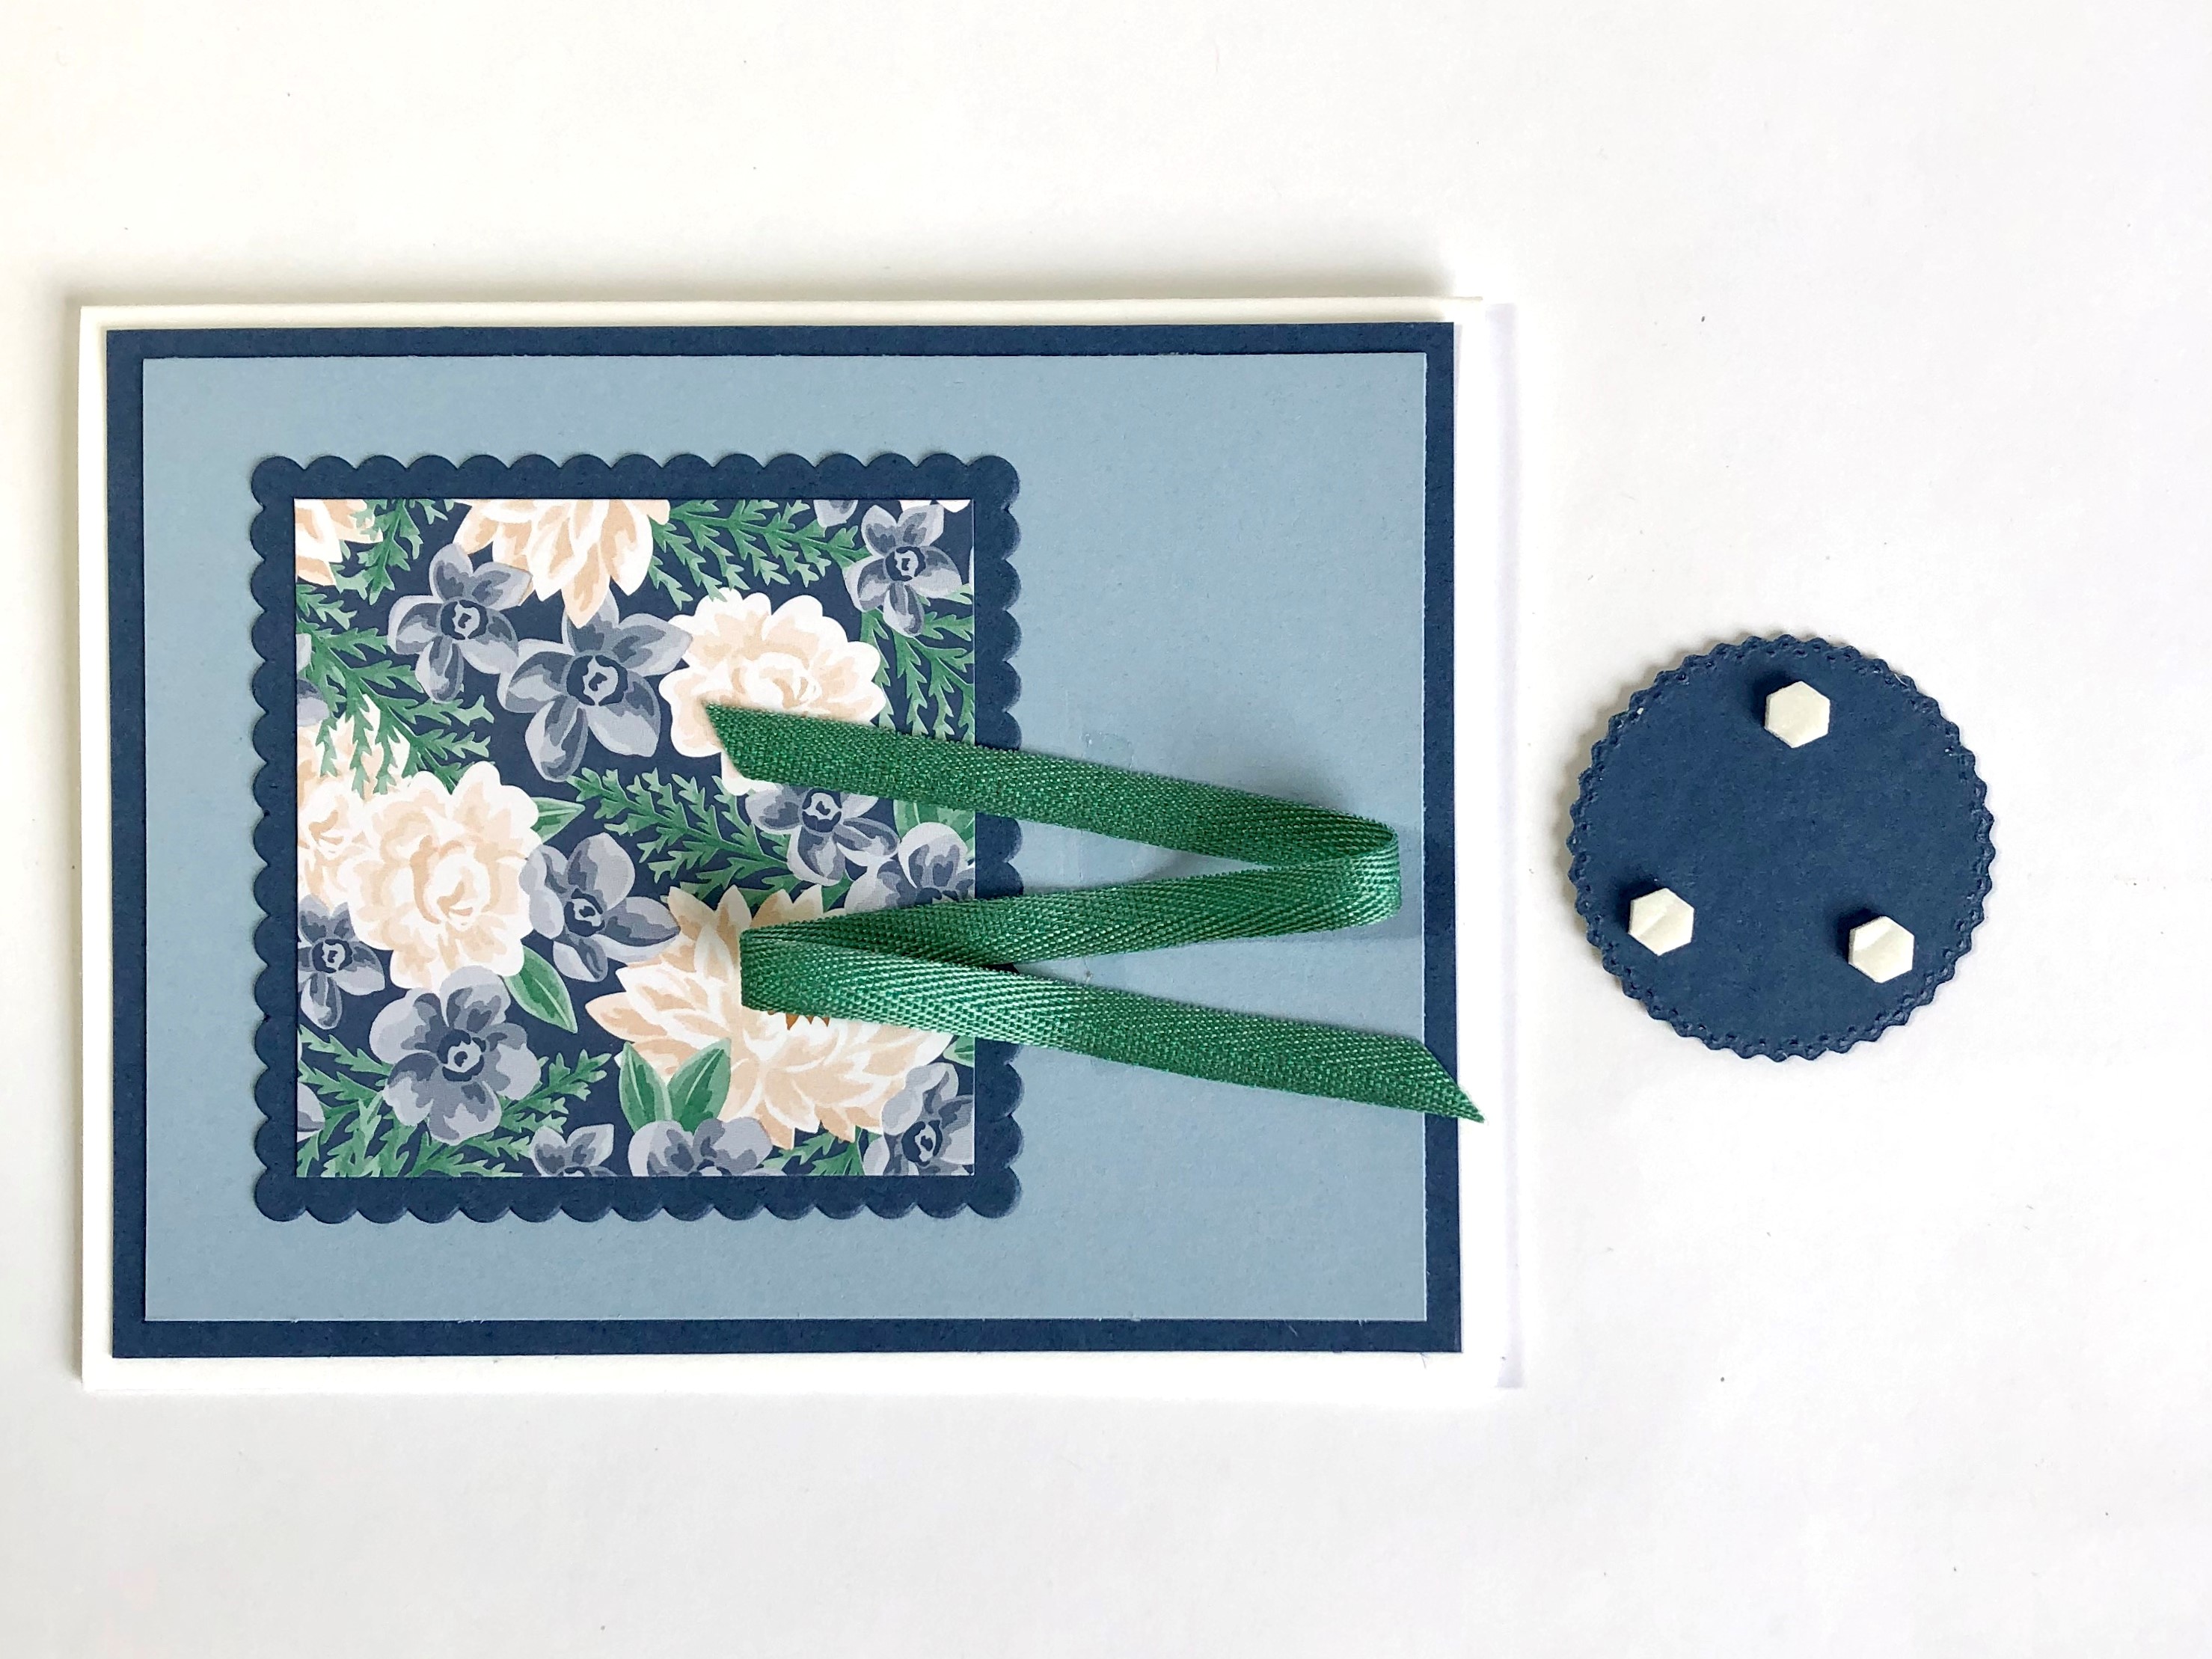 9. Crafter's Best Friends
Add at least 3 Mini Dimensionals, can't live without the popper-uppers!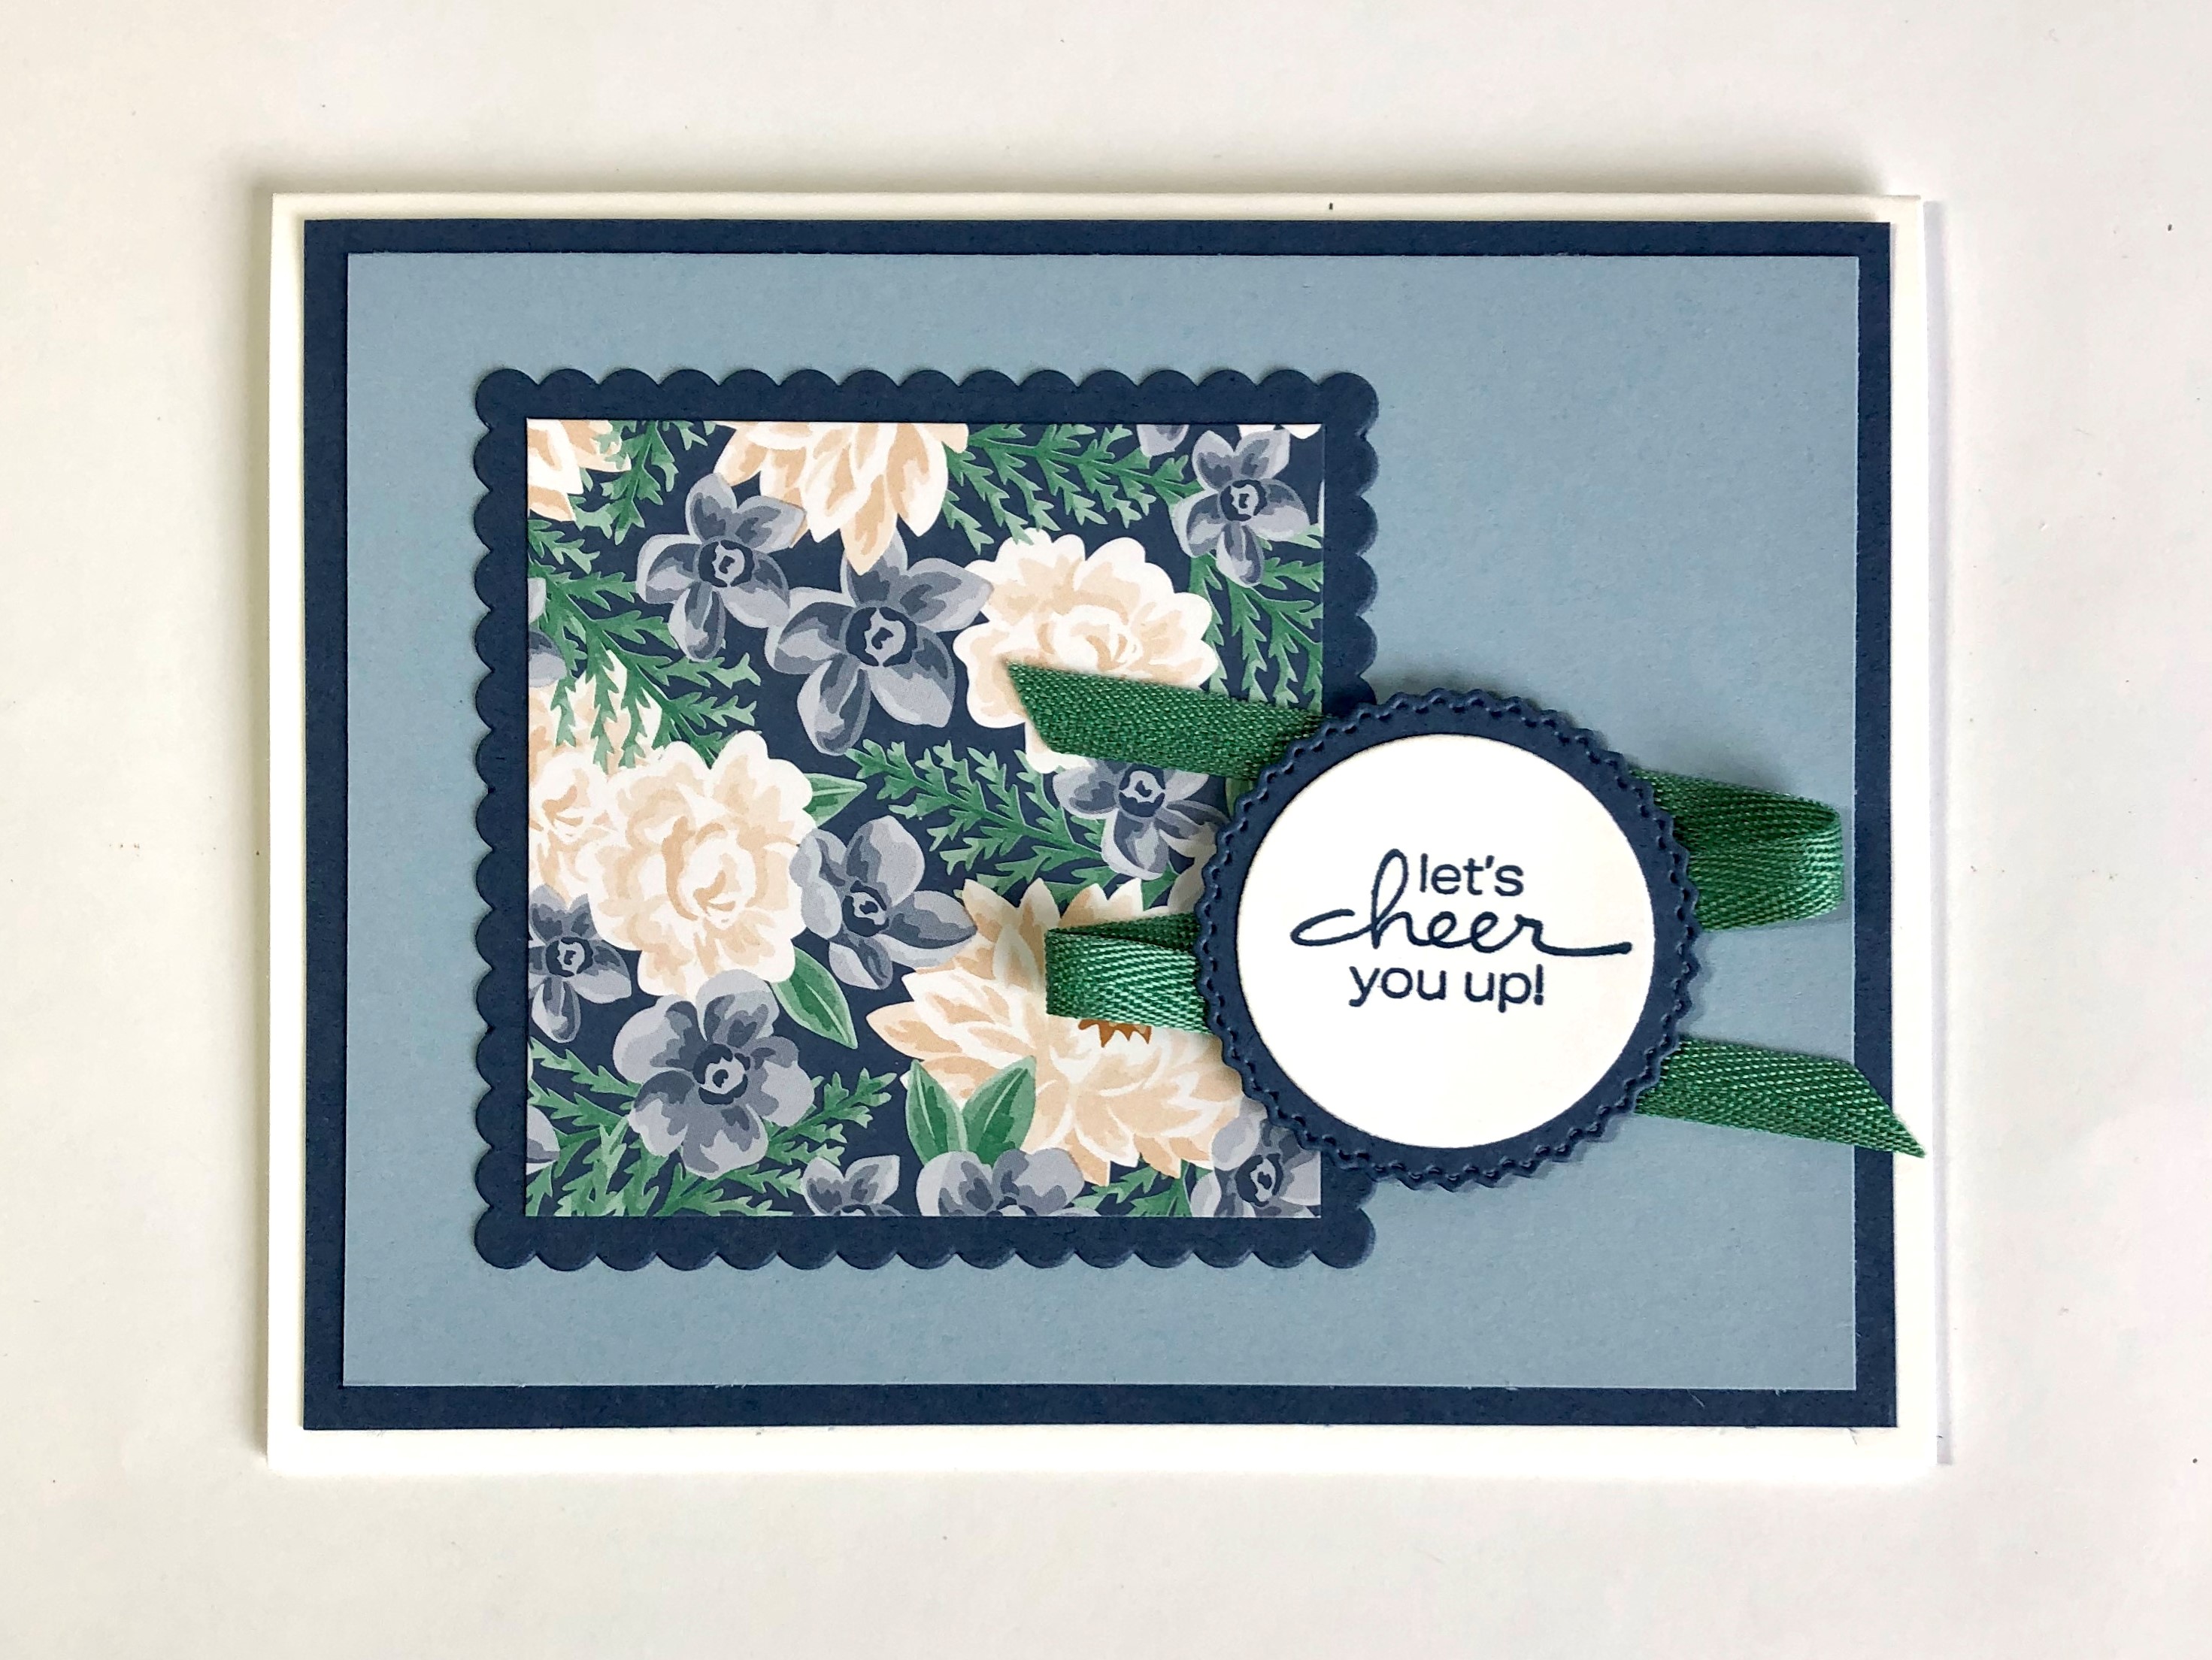
10. Finish Card
Mount the sentiment tag and your card is finished.
SUPPLIES


CURRENT PROMOTIONS


TAKE ME BACK TO THE TOP
Current Host Code
YBTKQ4KZ
CLICK TO SHOP WITH HC
See here how to use a Host CodeCLICK TO SHOP WITH HC

Free Newsletter!

Paper Pumpkin
SIGN ME UP!

Share With Friends
Most Recent Blog Posts
- FREE SHIPPING - DEC 14
- FREE SHIPPING from Oct 9th to 11th
- Stamp another Stack of Christmas Cards with Kevin & Christine
- Let the fun begin - again …
- Why wait? Join us now!
- Fitting Florets for any Occasion
- Festive Window Wishes
- Starter Kit + = No brainer!
- Perched in a Tree
- Awash in Beauty, so gorgeous!

.jpg)
.jpg)
.jpg)
.jpg)
.jpg)
.jpg)
.jpg)
.jpg)
.jpg)
.jpg)
.jpg)
.jpg)
.jpg)
.jpg)
.jpg)
.jpg)
.jpg)
.jpg)
.jpg)
.jpg)
.jpg)
.jpg)
.jpg)
.jpg)
.jpg)
.jpg)
.jpg)
.jpg)
.jpg)
.jpg)
.jpg)
.jpg)
.jpg)
.jpg)
.jpg)
.jpg)
.jpg)
.jpg)
.jpg)
.jpg)
.jpg)
.jpg)
.jpg)
.jpg)
.jpg)
.jpg)
.jpg)
.jpg)
.jpg)
.jpg)
.jpg)
.jpg)
.jpg)
.jpg)
.jpg)
.jpg)
.jpg)
.jpg)
.jpg)
.jpg)
.jpg)
.jpg)
.jpg)
.jpg)
.jpg)
.jpg)
.jpg)
.jpg)
.jpg)
.jpg)
.jpg)
.jpg)
.jpg)
.jpg)
.jpg)
.jpg)
.jpg)
.jpg)
.jpg)
.jpg)
.jpg)
.jpg)
.jpg)
.jpg)
.jpg)
.jpg)
.jpg)
.jpg)
.jpg)
.jpg)
.jpg)
.jpg)
.jpg)
.jpg)
.jpg)
.jpg)
.jpg)
.jpg)
.jpg)
.jpg)
.jpg)
.jpg)
.jpg)
.jpg)
.jpg)
.jpg)
.jpg)
.jpg)
.jpg)
.jpg)
.jpg)
.jpg)
.jpg)
.jpg)
.jpg)
.jpg)
.jpg)
.jpg)
.jpg)
.jpg)
.jpg)
.jpg)
.jpg)
.jpg)
.jpg)
.jpg)
.jpg)
.jpg)
.jpg)
.jpg)
.jpg)
.jpg)
.jpg)
.jpg)
.jpg)
.jpg)
.jpg)
.jpg)
.jpg)
.jpg)
.jpg)
.jpg)
.jpg)
.jpg)
.jpg)
.jpg)
.jpg)
.jpg)
.jpg)
.jpg)
.jpg)
.jpg)
.jpg)
.jpg)
.jpg)
.jpg)
.jpg)
.jpg)
.jpg)
.jpg)
.jpg)
.jpg)
.jpg)
.jpg)
.jpg)
.jpg)
.jpg)
.jpg)
.jpg)
.jpg)
.jpg)
.jpg)
.jpg)
.jpg)
.jpg)
.jpg)
.jpg)
.jpg)
.jpg)
.jpg)
.jpg)
.jpg)
.jpg)
.jpg)
.jpg)
.jpg)
.jpg)
.jpg)
.jpg)
.jpg)
.jpg)
.jpg)
.jpg)
.jpg)
.jpg)
.jpg)
.jpg)
.jpg)
.jpg)
.jpg)
.jpg)
.jpg)
.jpg)
.jpg)
.jpg)
.jpg)
.jpg)